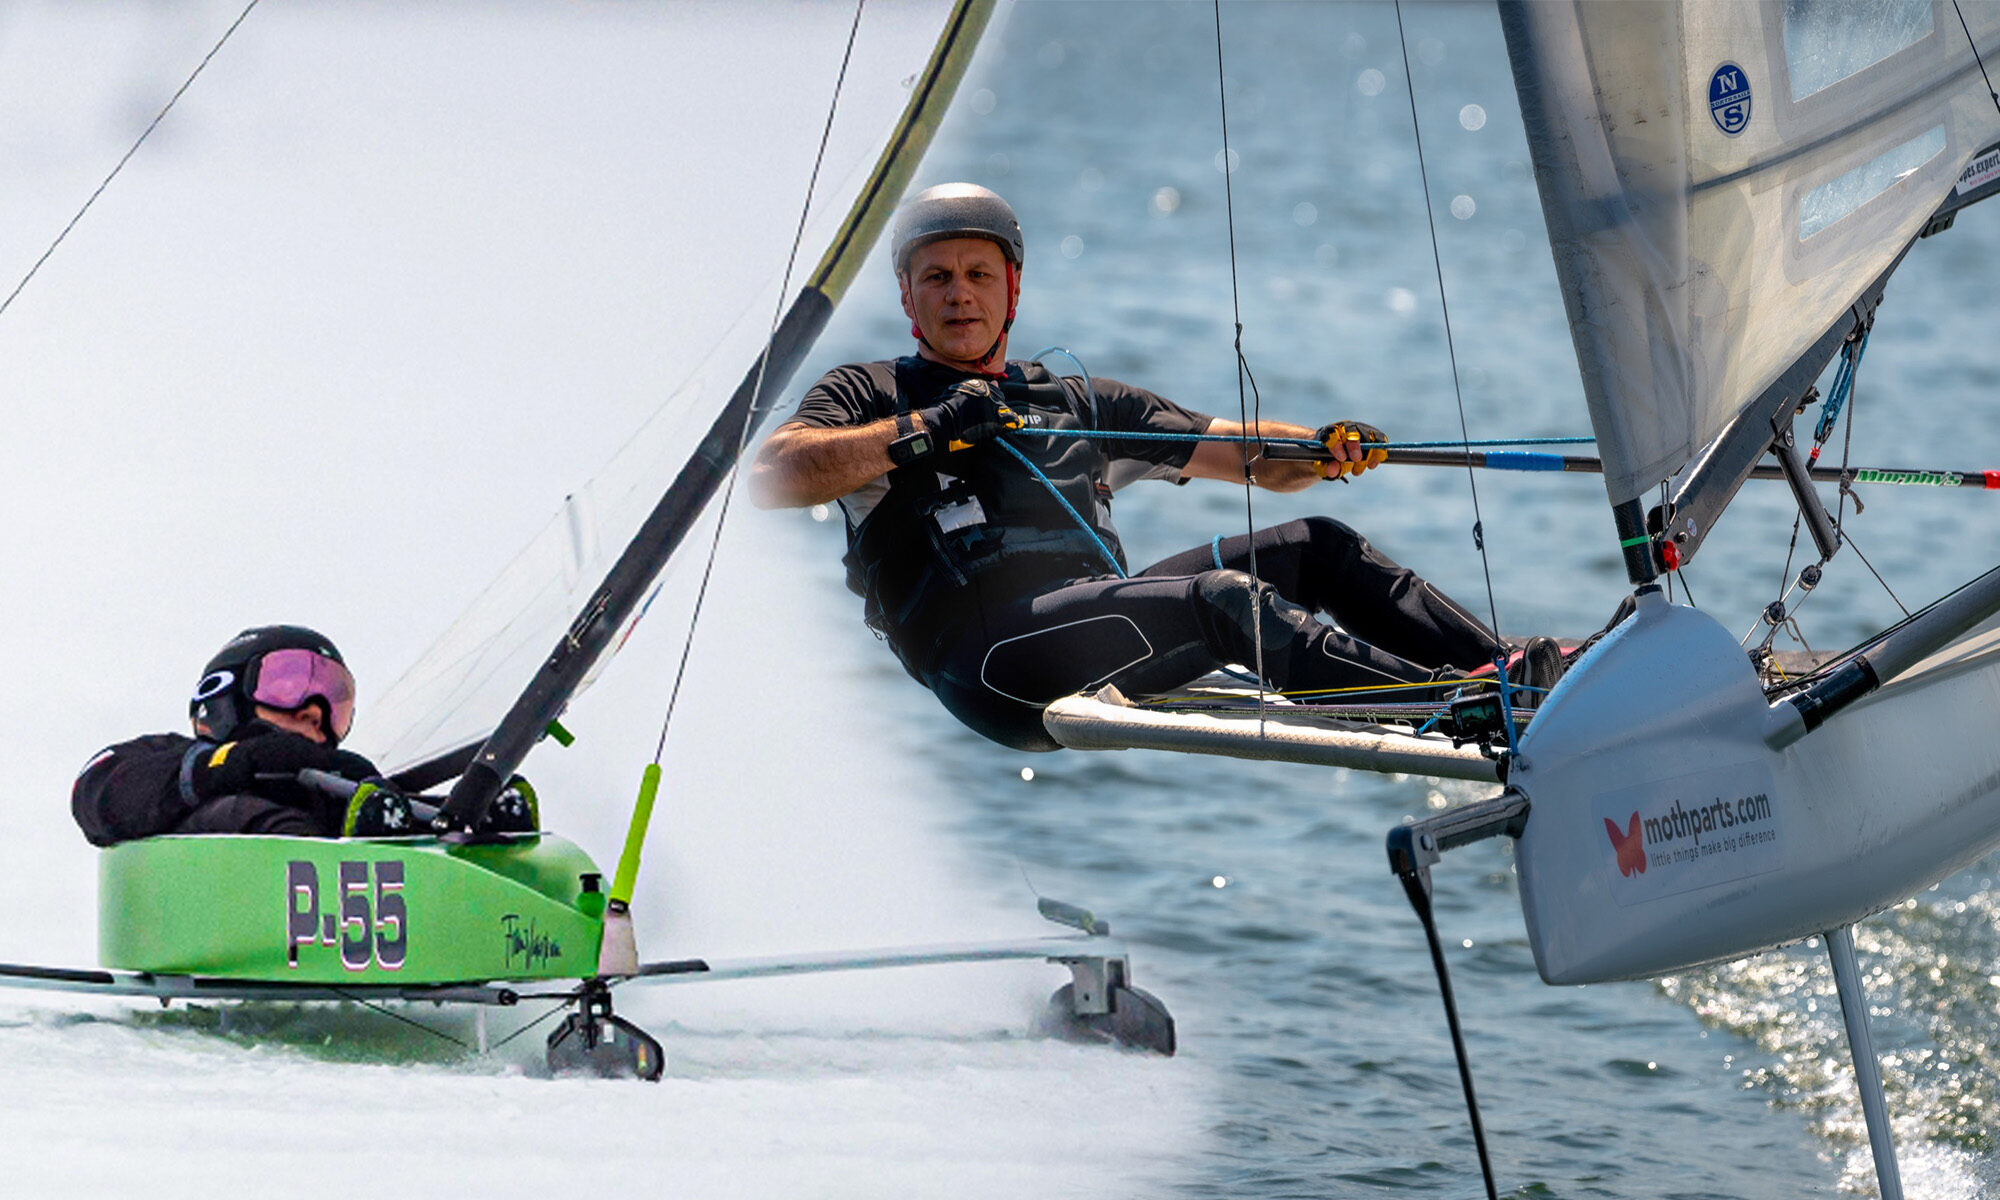
Building runner planks started for me 10 years ago. This year I will complete plank no. 57. A lot of experience gained over last decade. Some fails and some designs that never saw the ice – awaiting for longer winter allowing time to test.
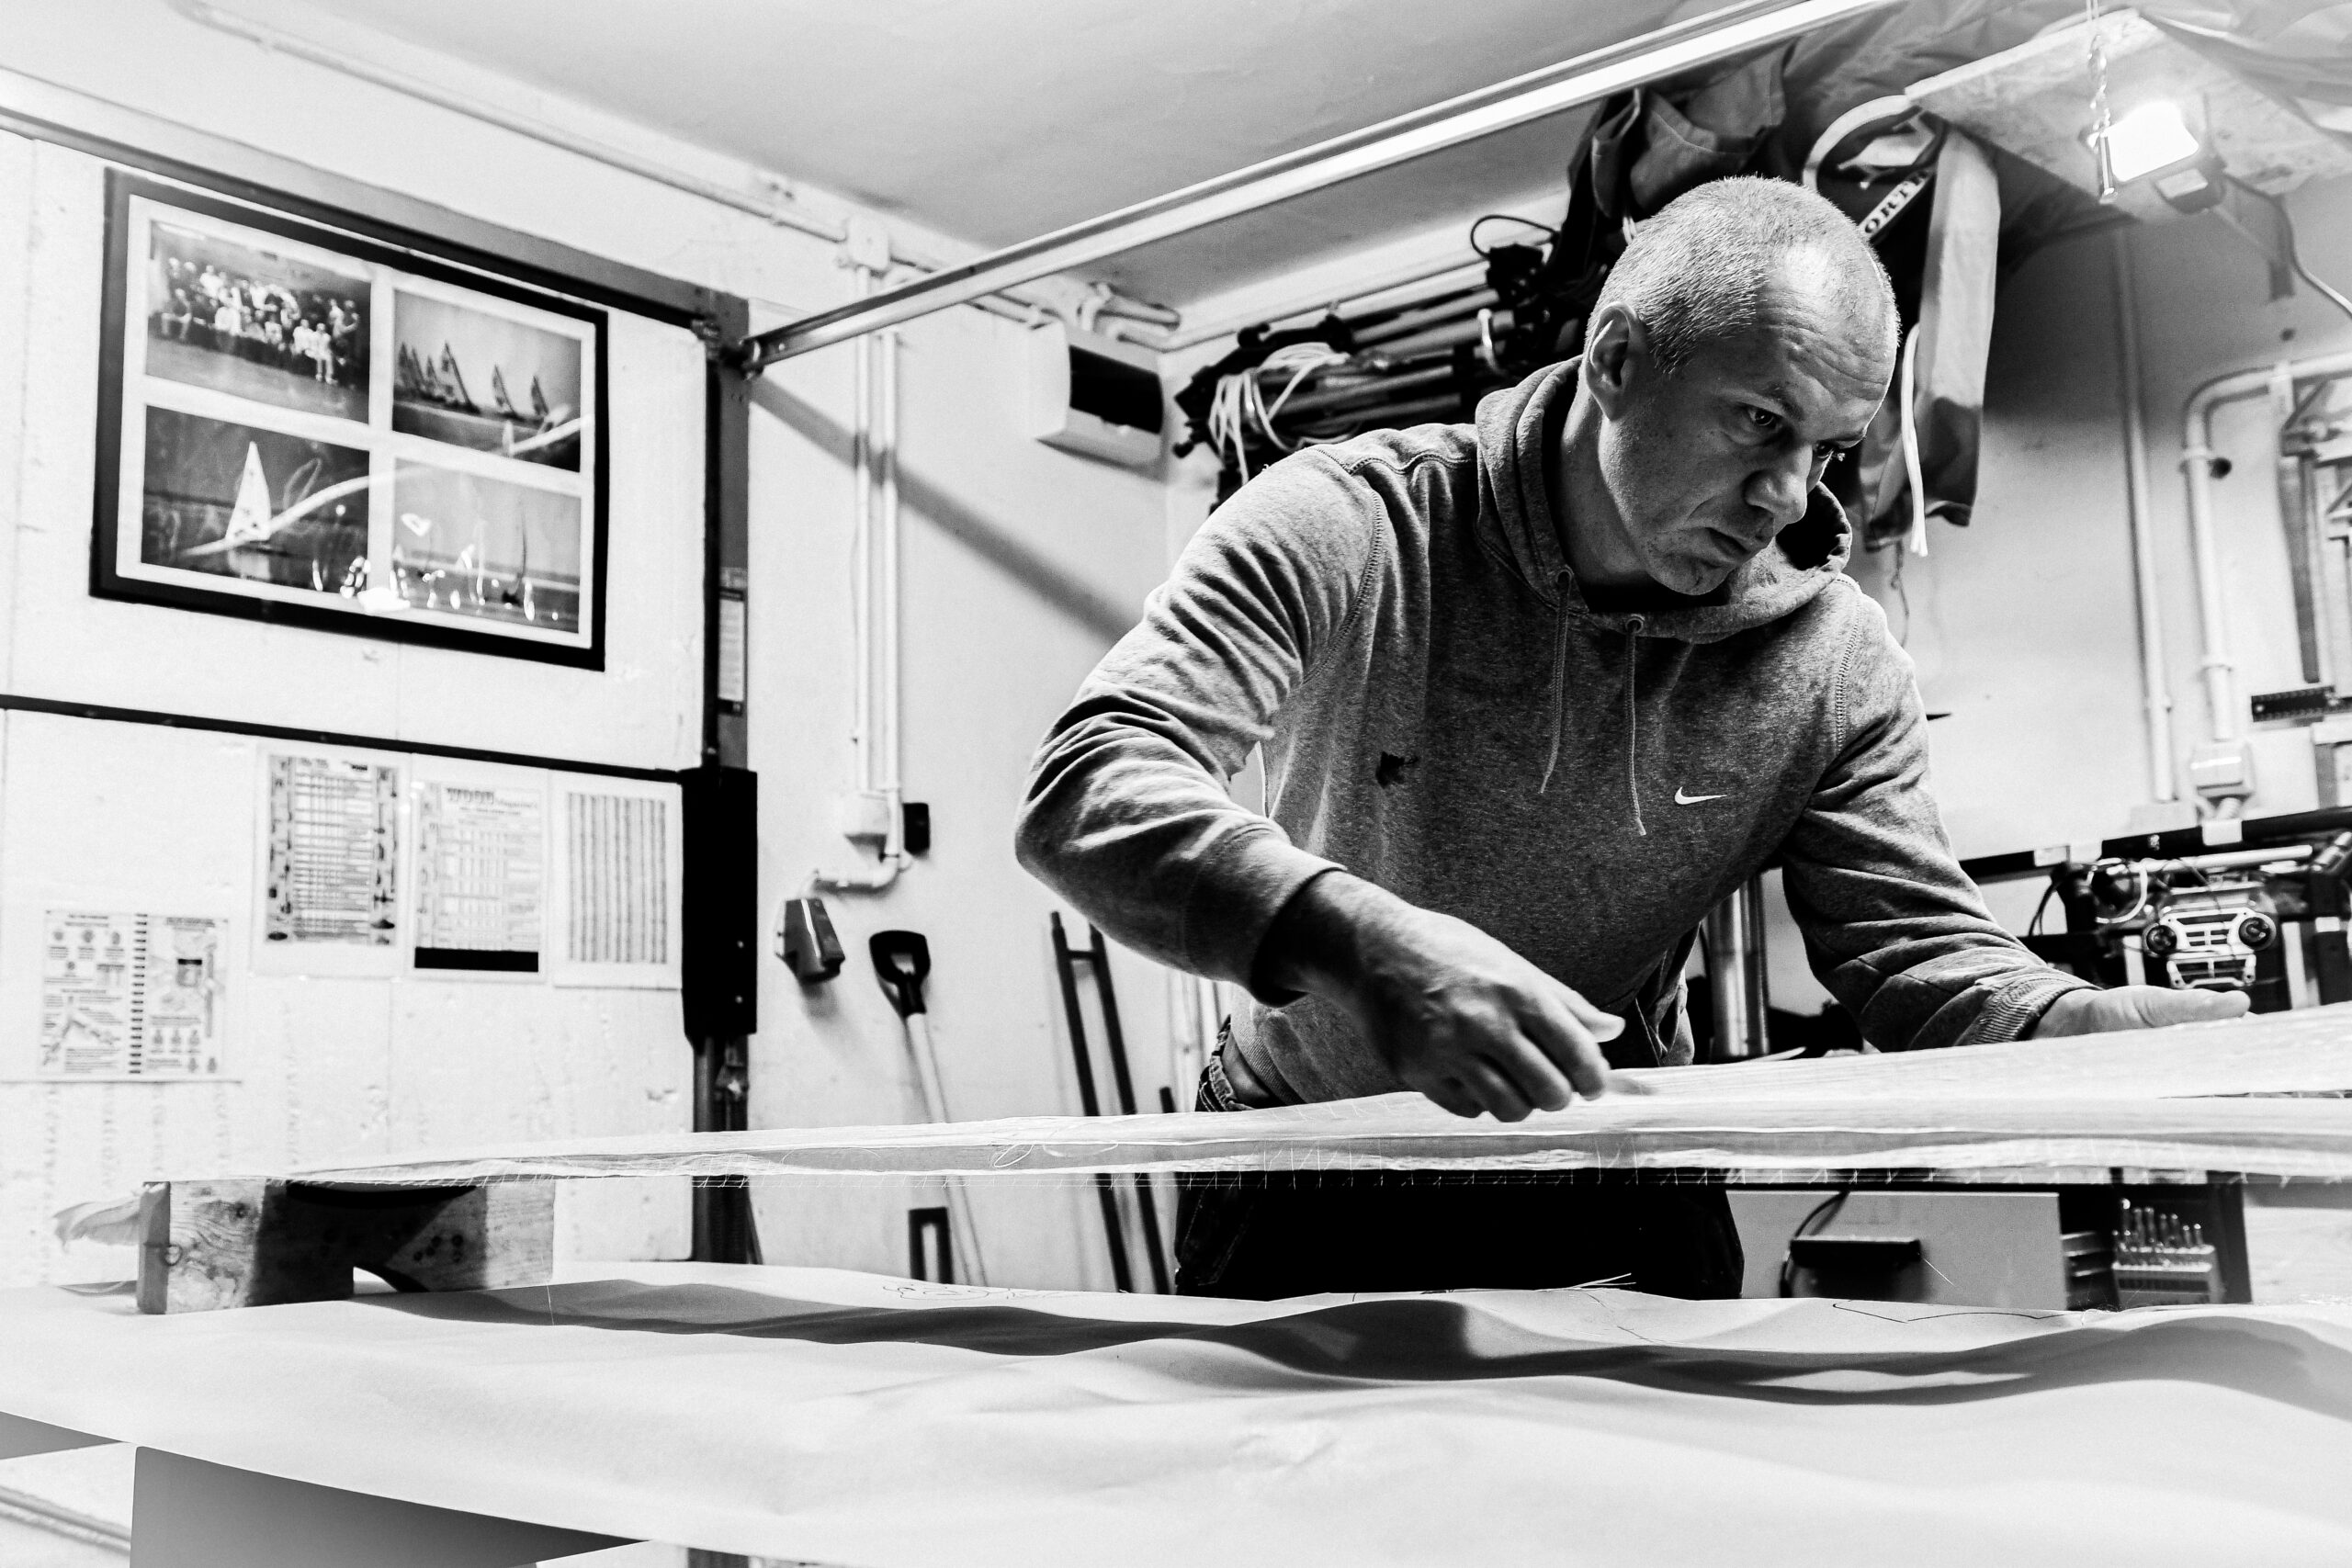
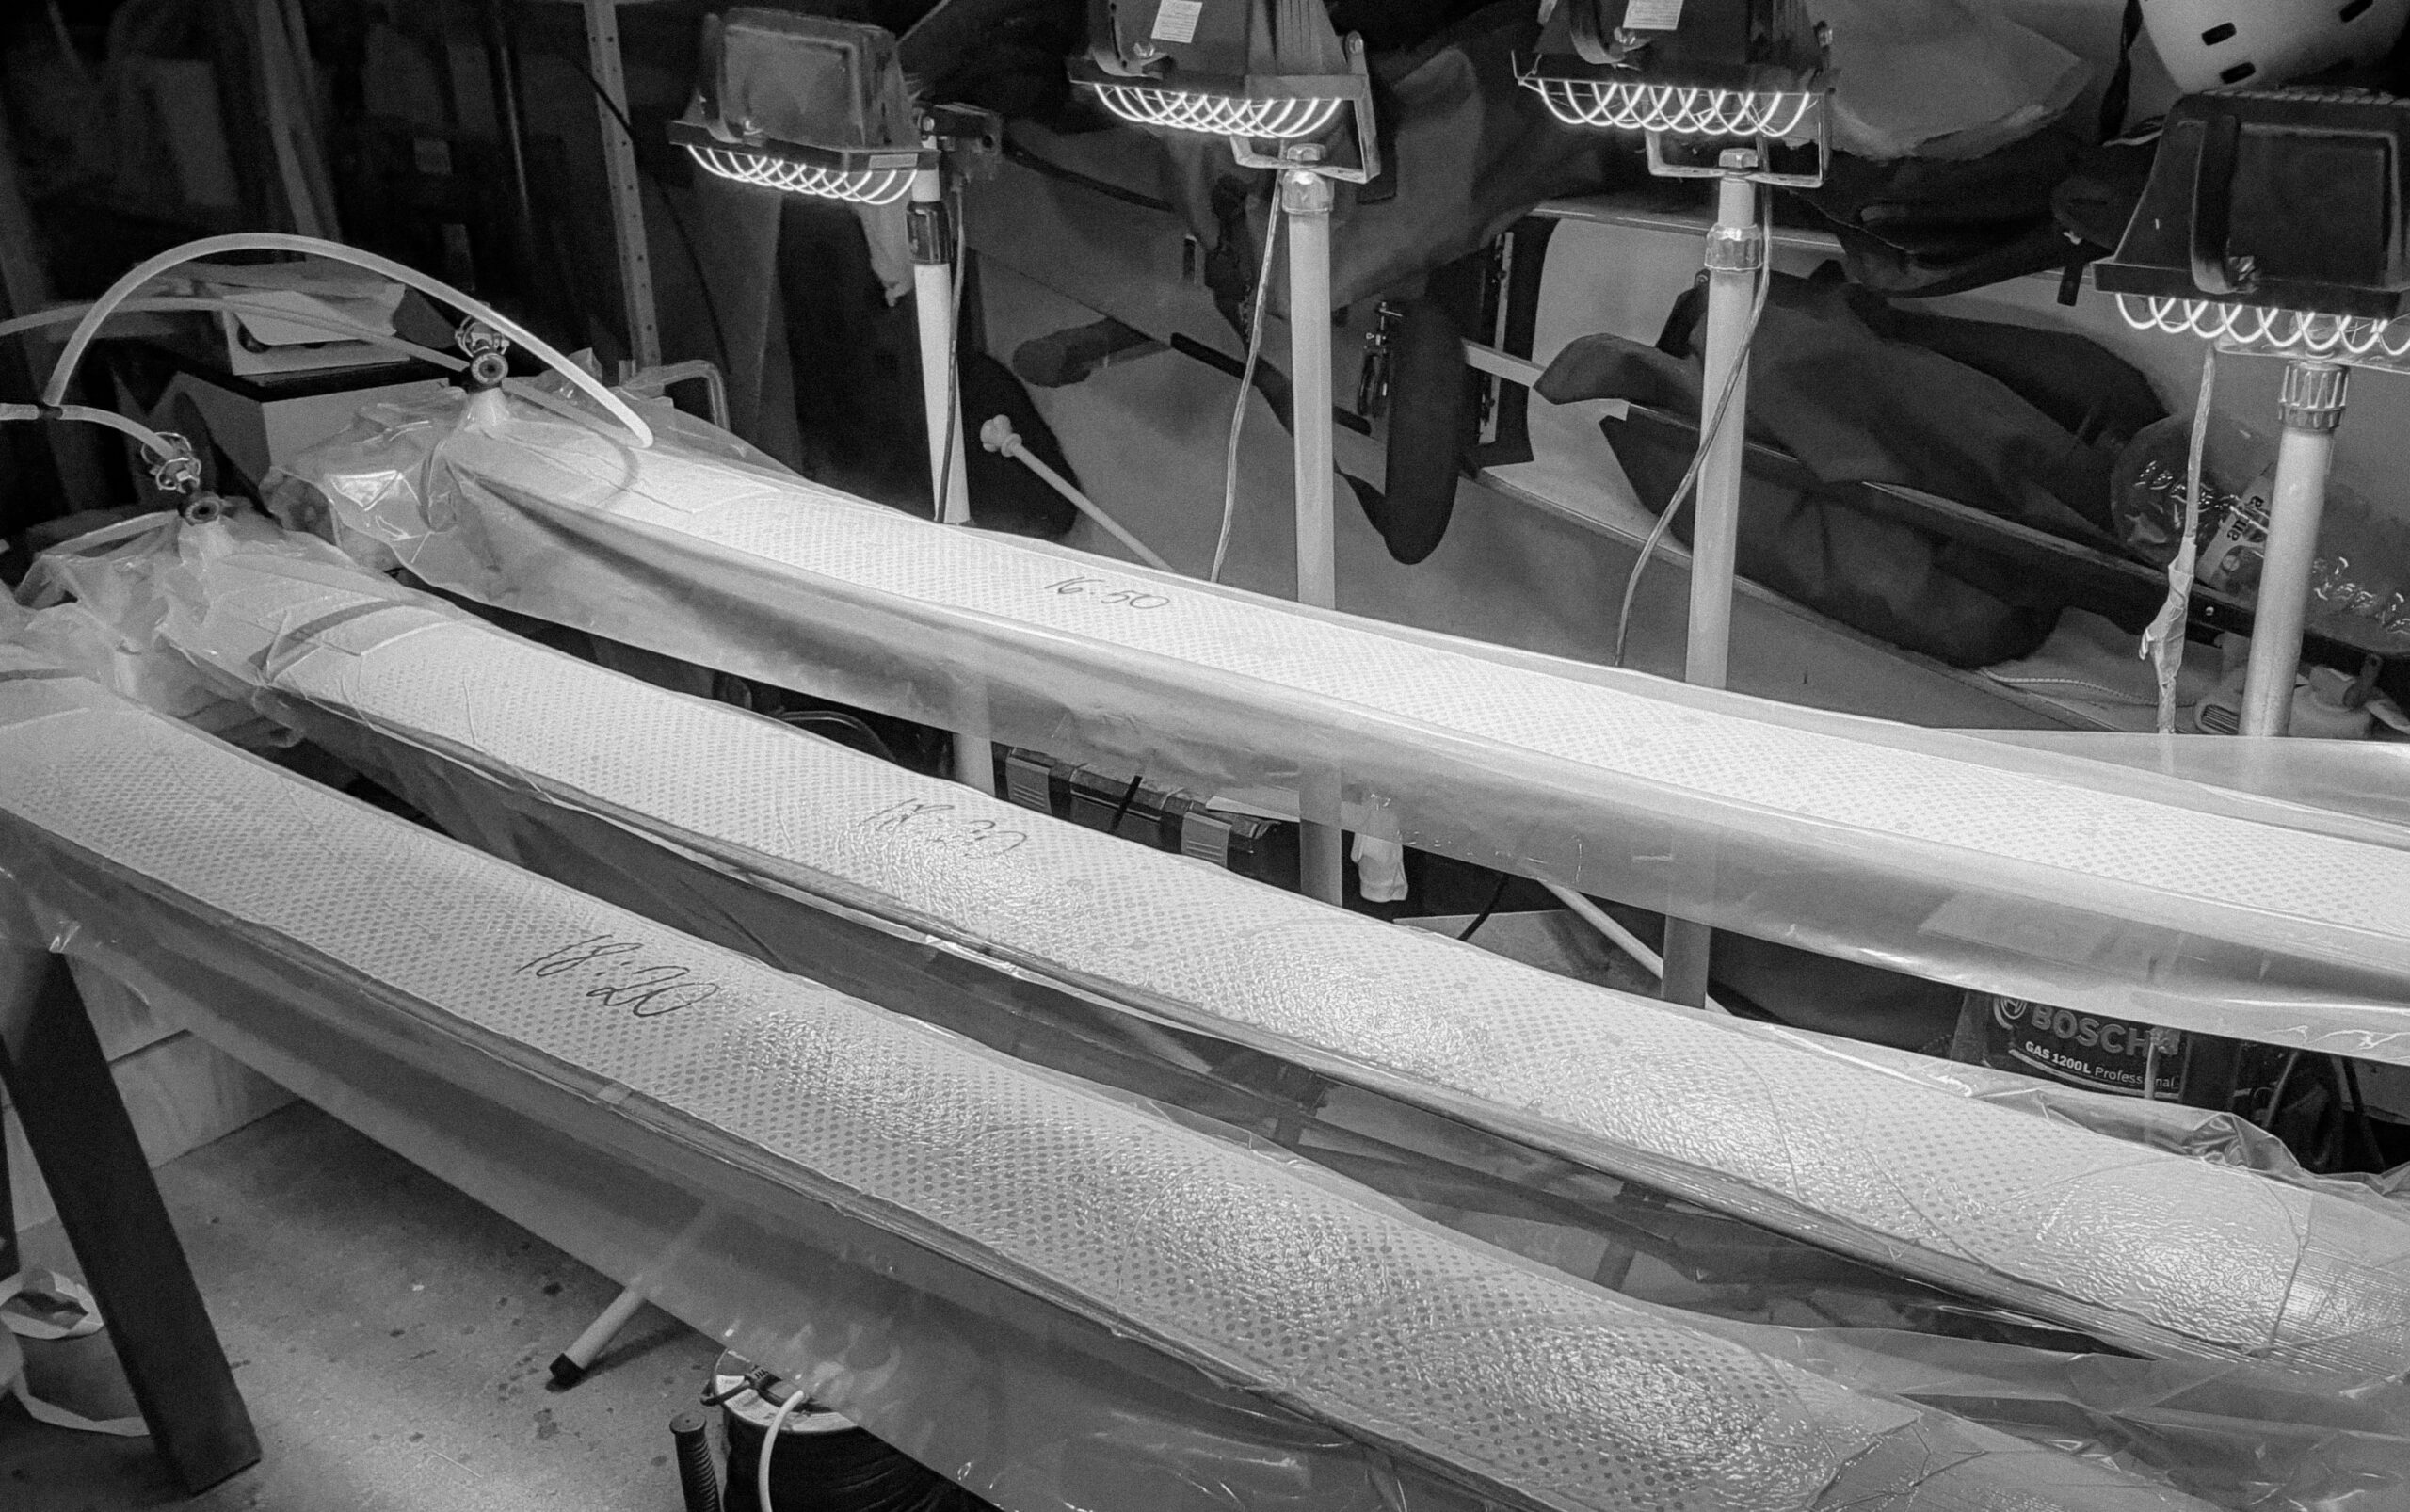
Runner plank vacuum bagging
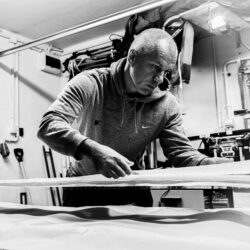
Today afternoon I challenged myself with simultaneous vacuum bagging of 5 planks. I use bagging for stiffening planks. In this year’s batch two planks are stiffened for junior sailors, one for myself and the other two for friends who gained a little during lock down 😉 My feeling is that with next lock down there may be more requests for vacuum bagging 😉
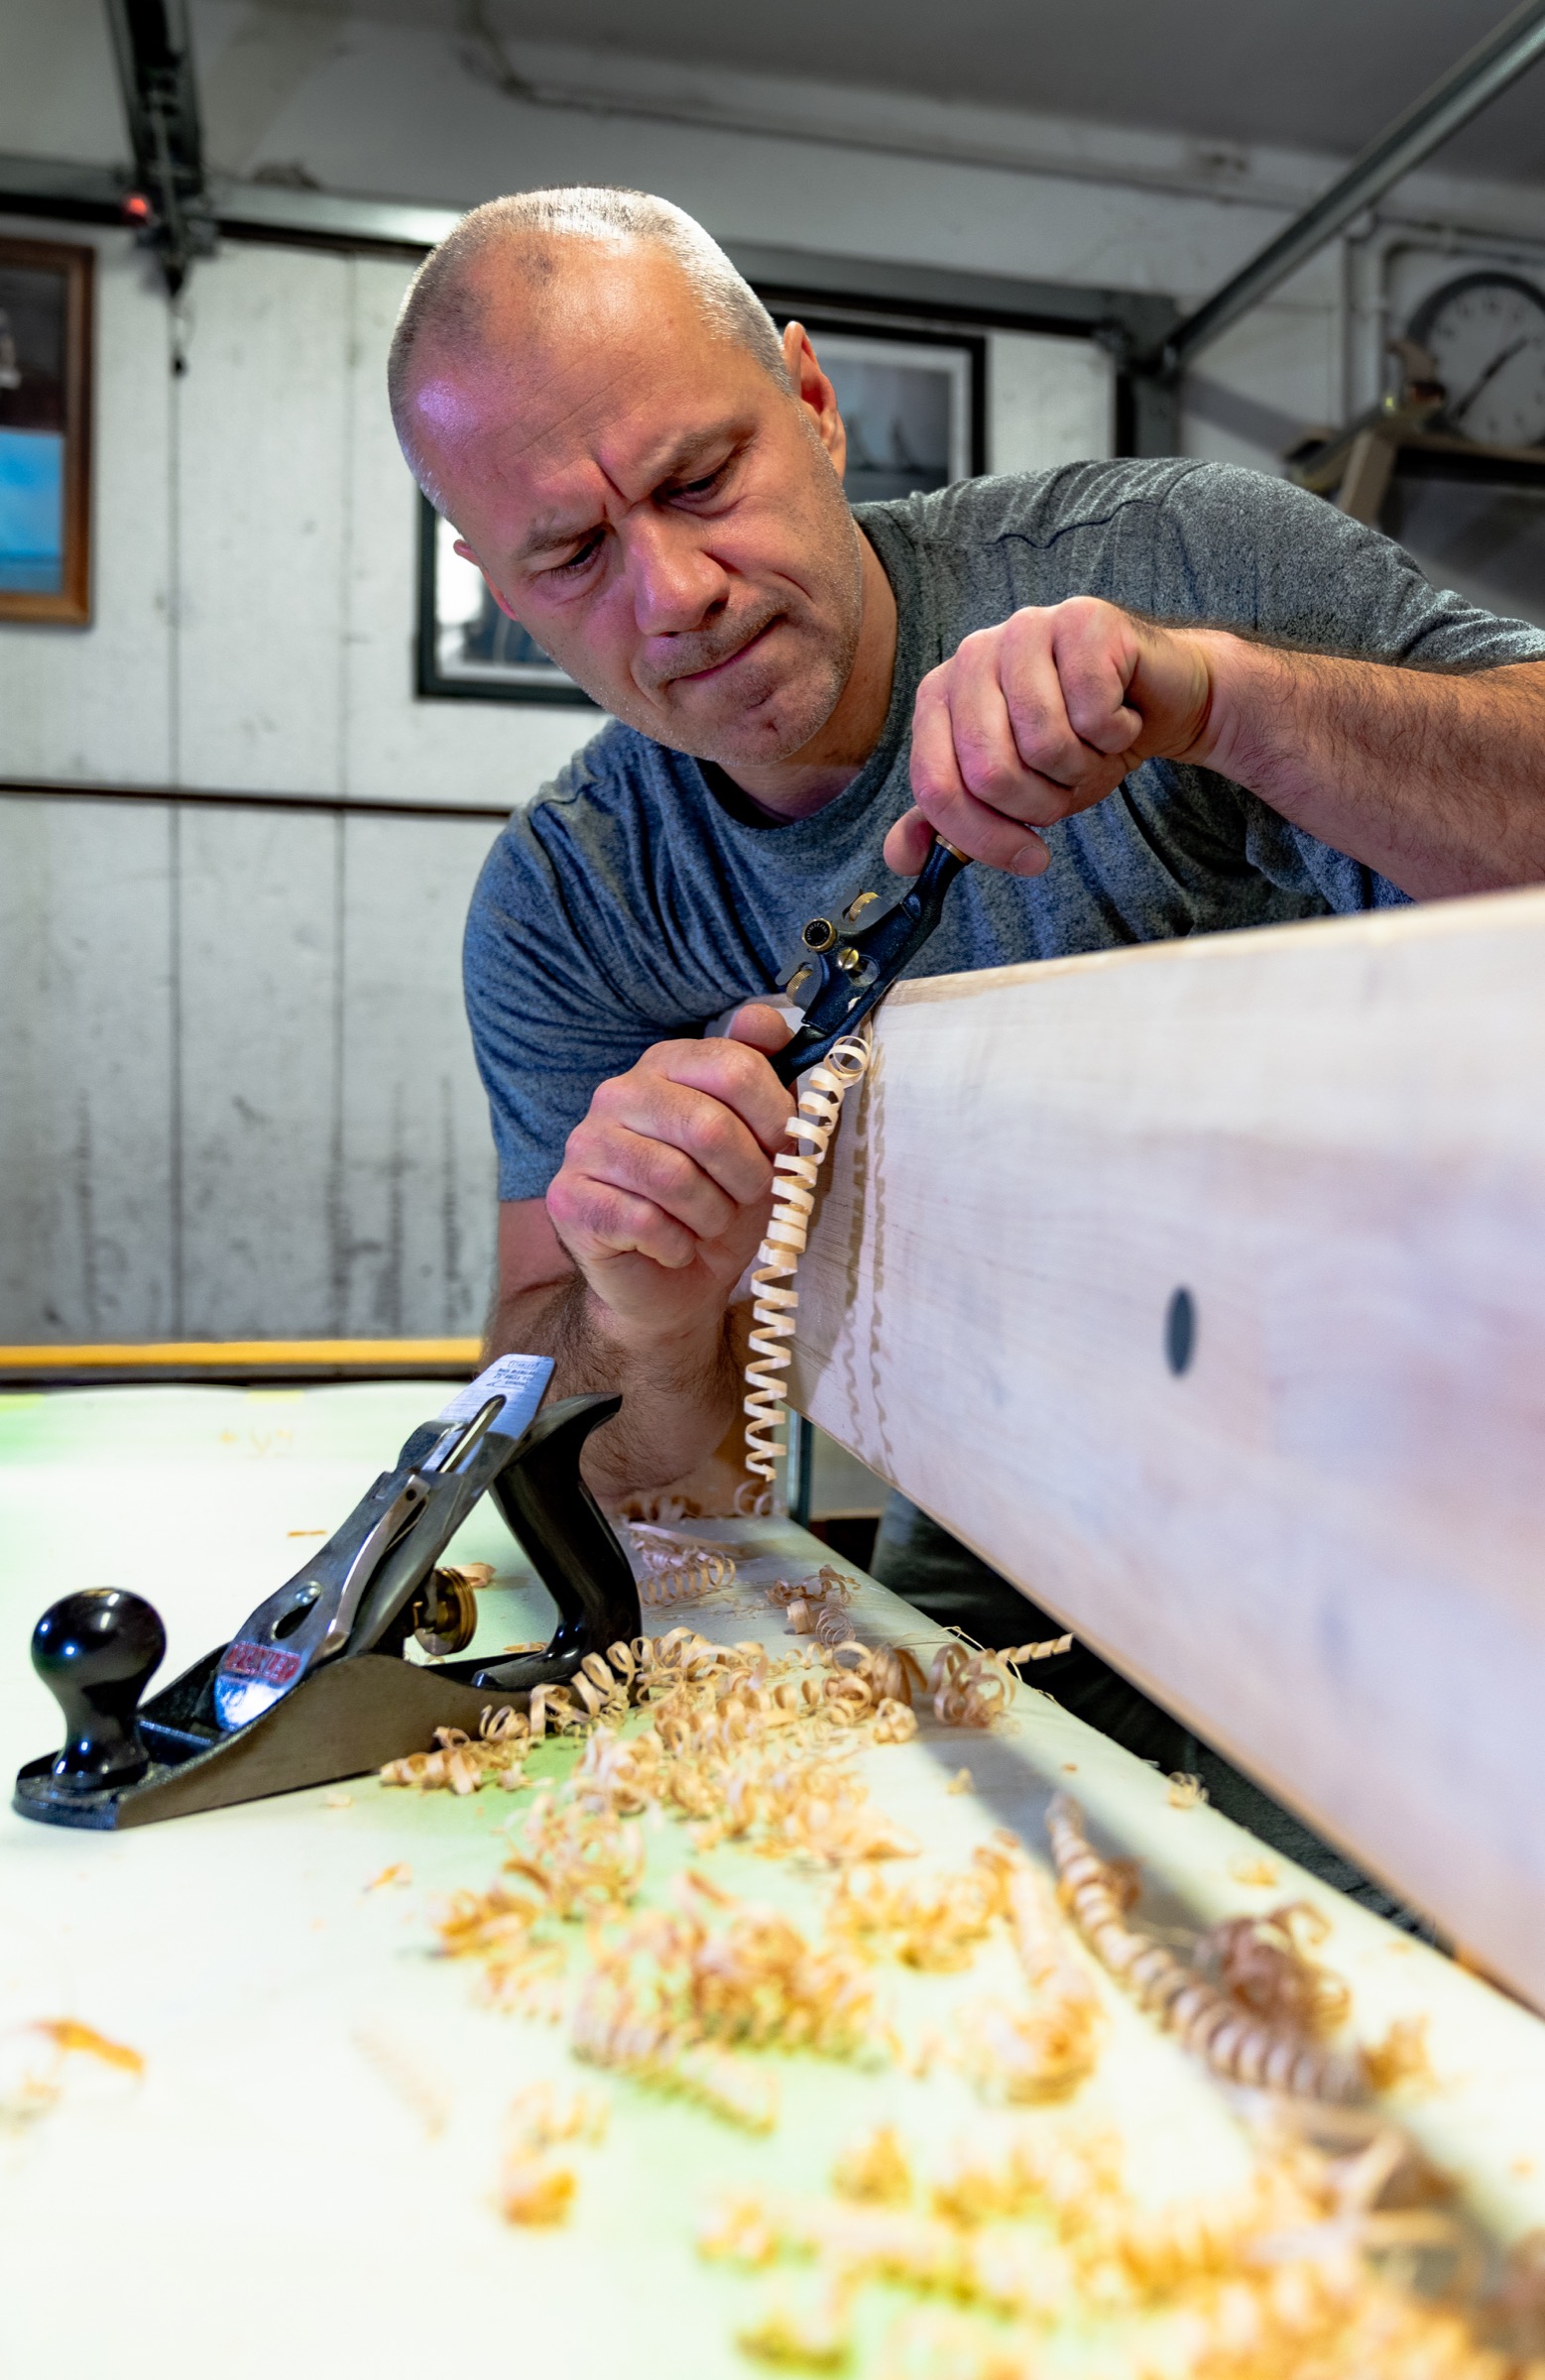
Woodworking in icesailing projects is the most pleasing part. Starting from lumber selection, touching the nature, cutting, bonding, bending, shaping. Wood creates unique smell in your shop. And then BANG! You open epoxy hardener and magic is gone.
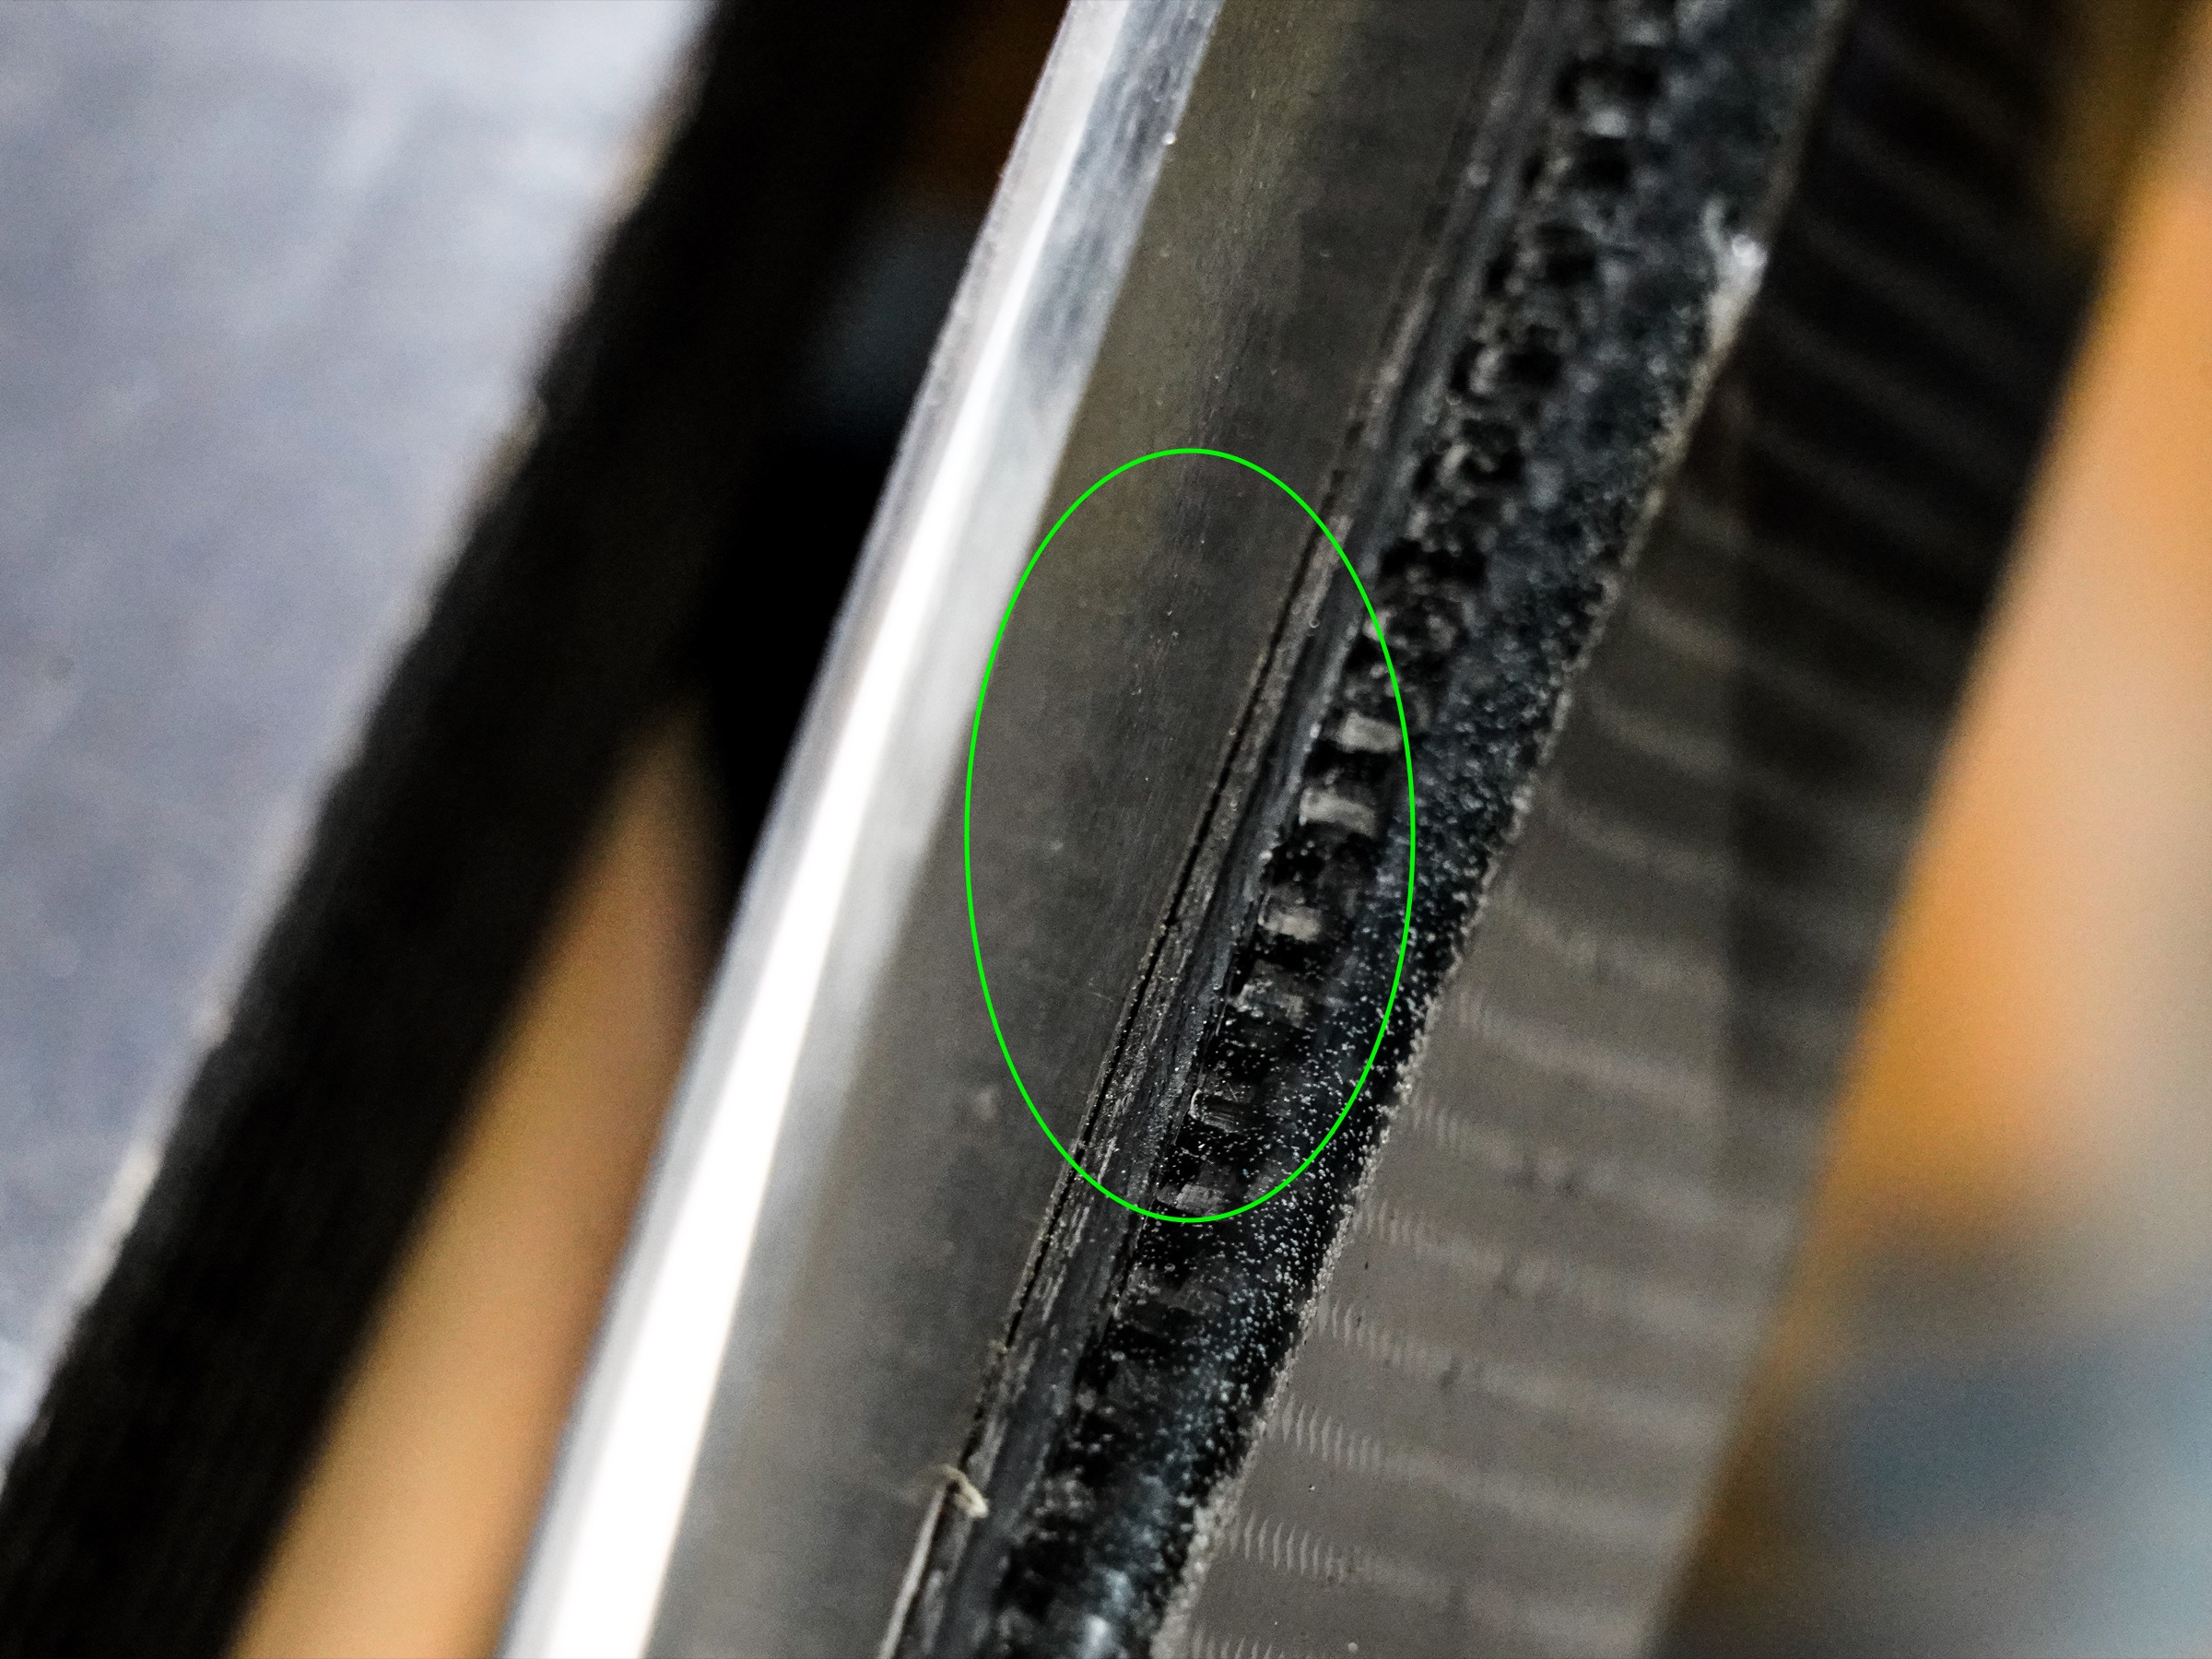
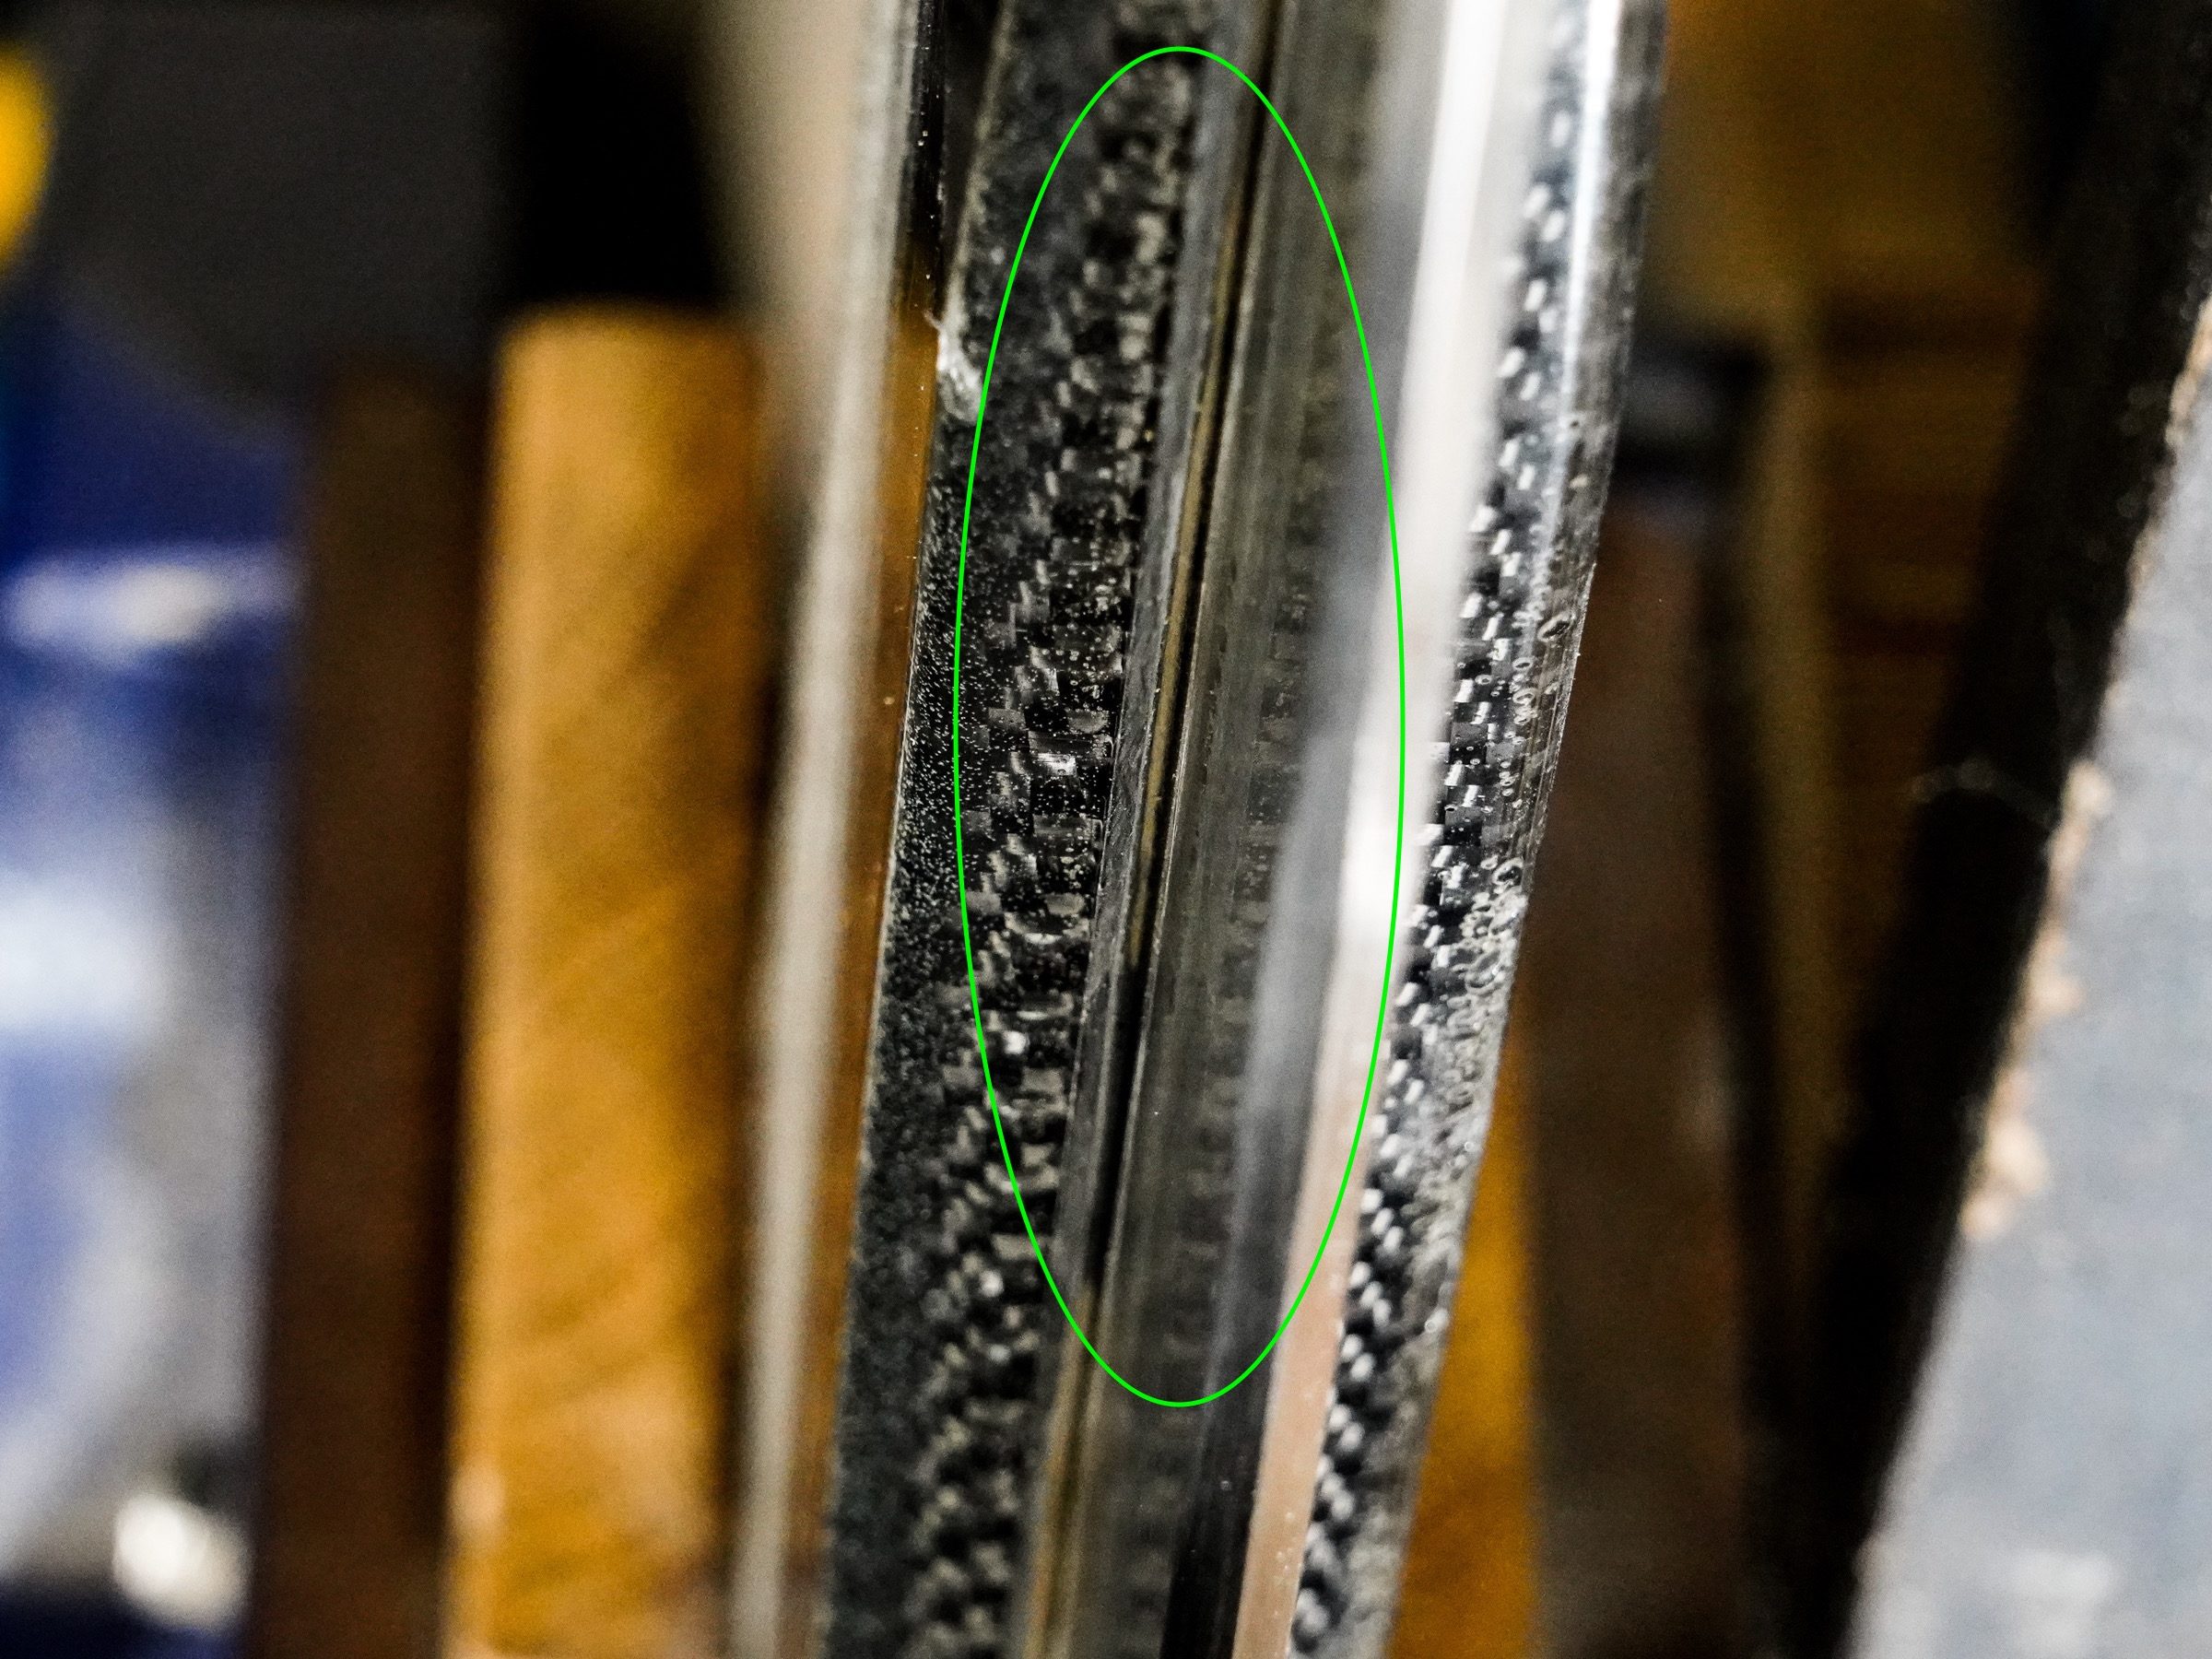
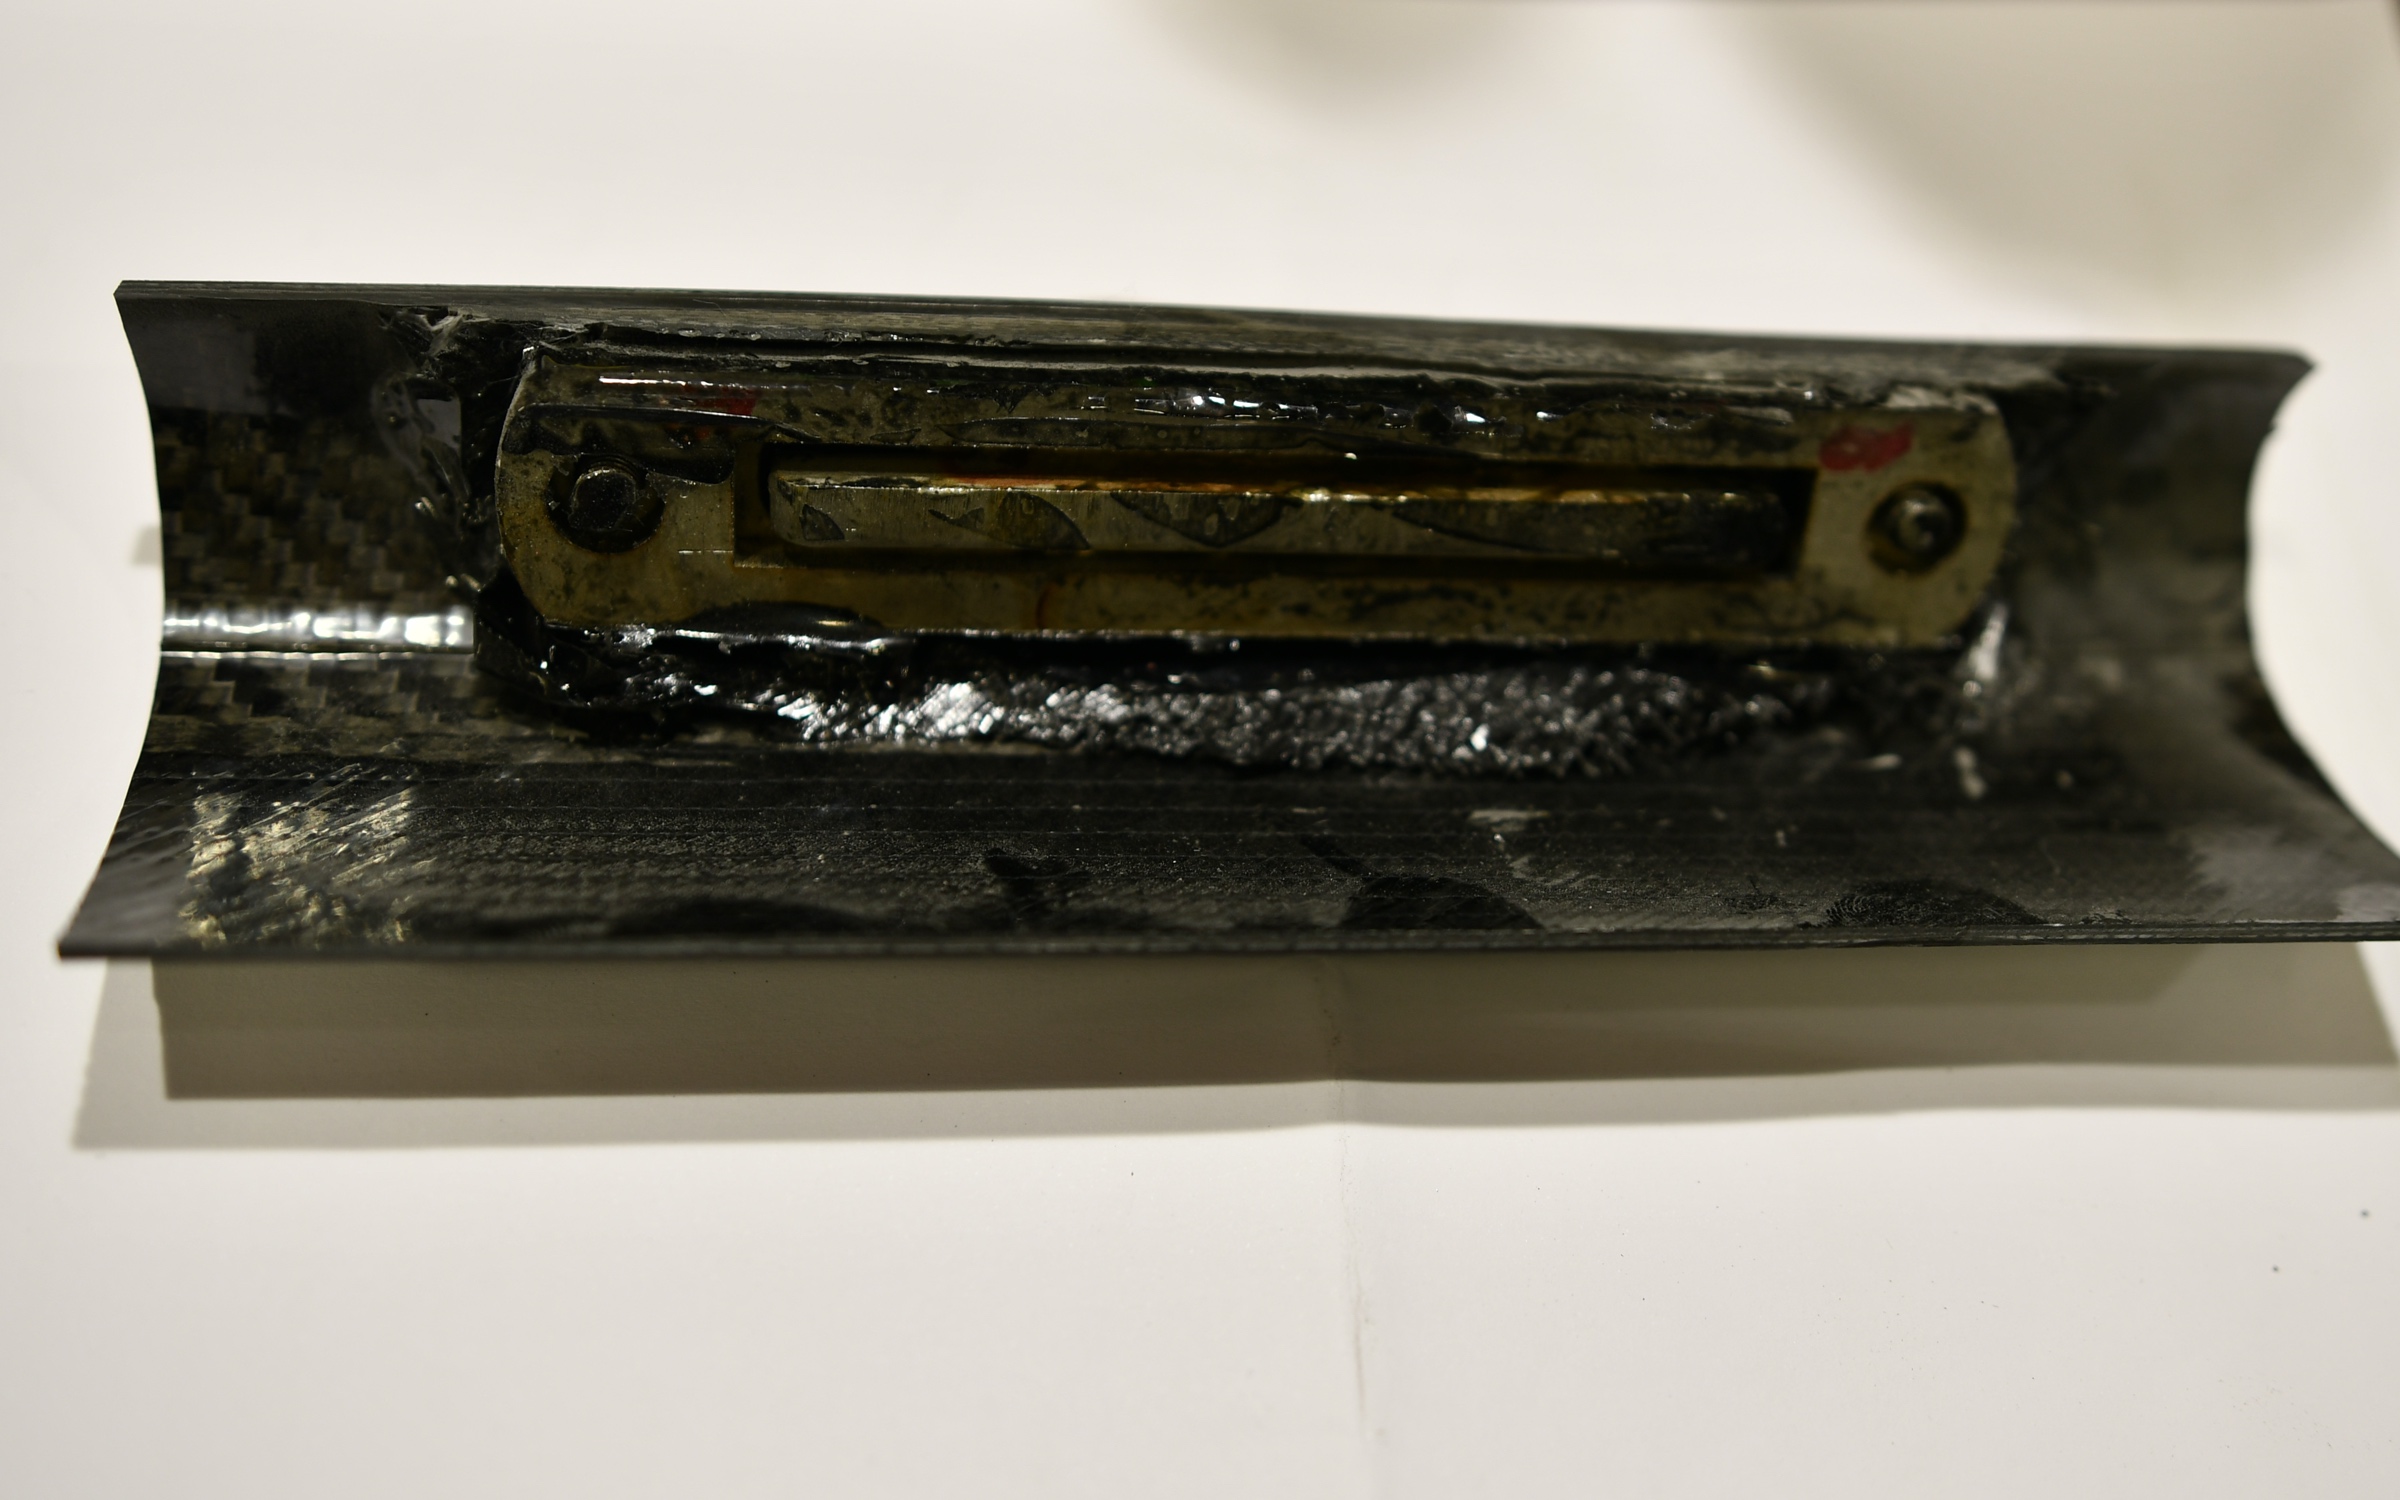
Every sailor should carefully inspect his runners after sailing not only checking for edge quality, shim tapes etc. but also for eventual delamination. It may happen that runner body exposed to extreme loads during sailing will delaminate from steel. Above picture represents this situation. You can see a very tiny gap between carbon flange and blade. If we fix it the runner it will be fine, if we continue sailing the water will be absorbed by the wooden core and body will begin to swell.
Here is quick and easy solution to fix it.
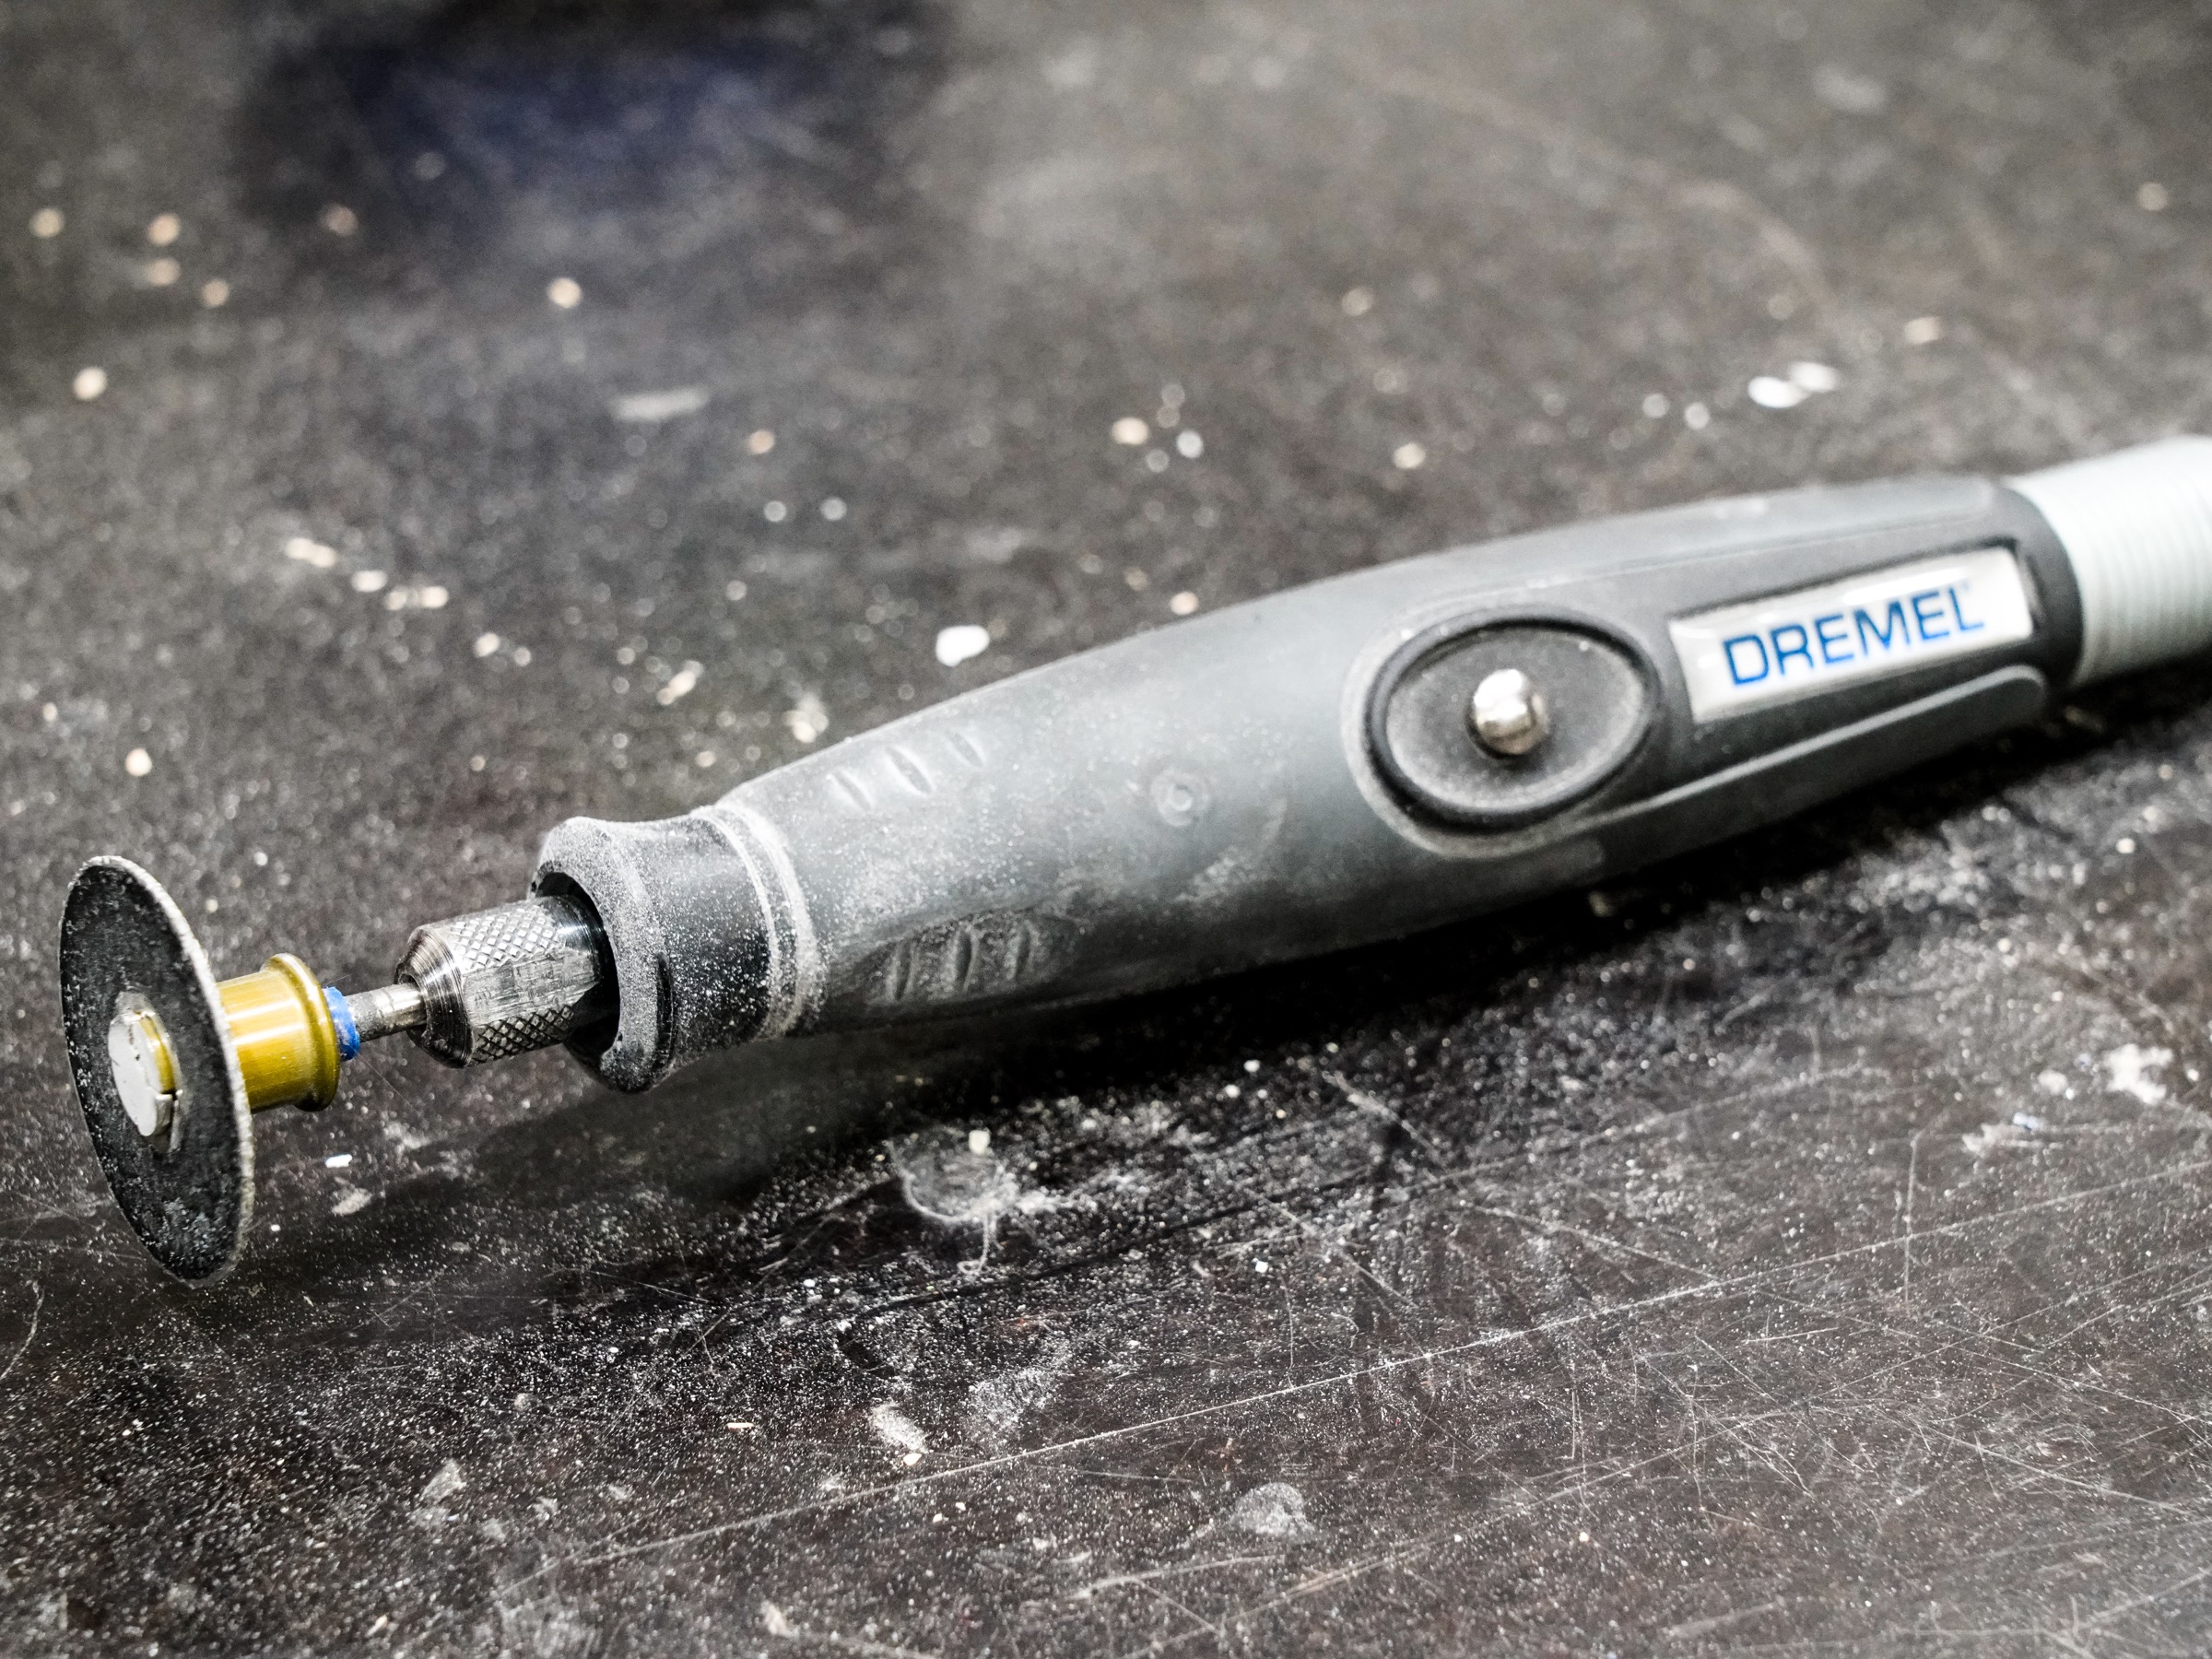
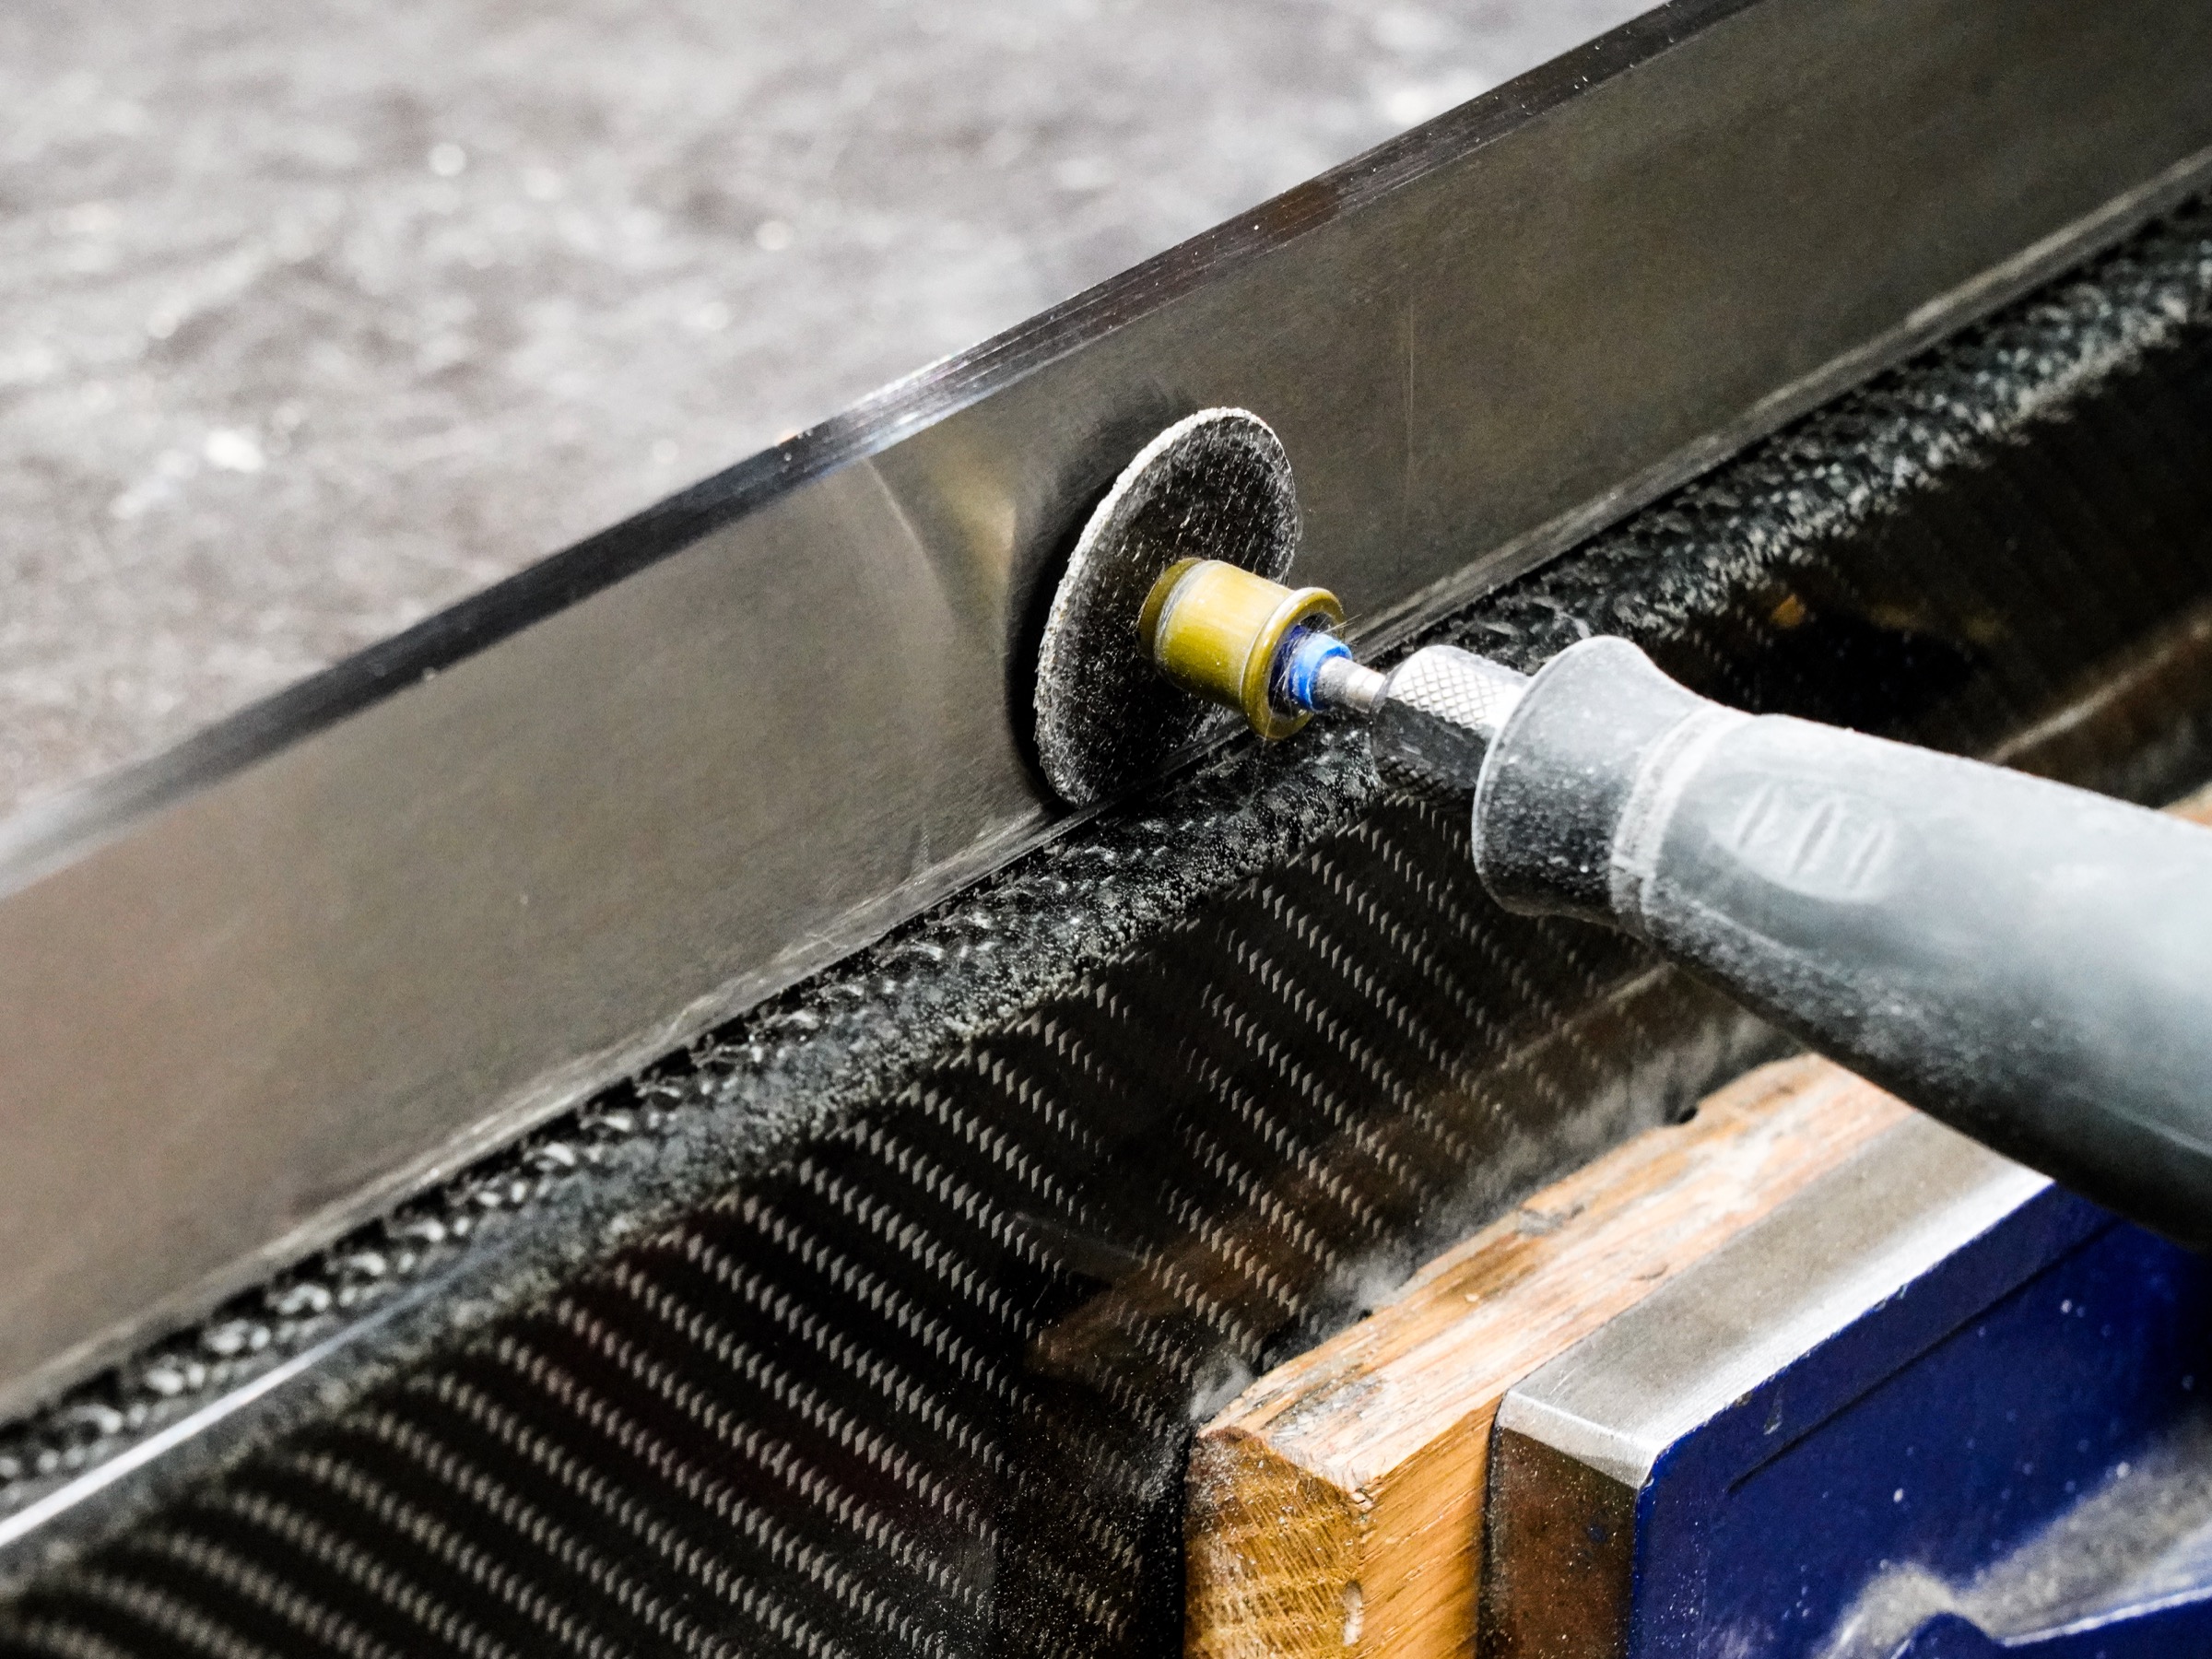
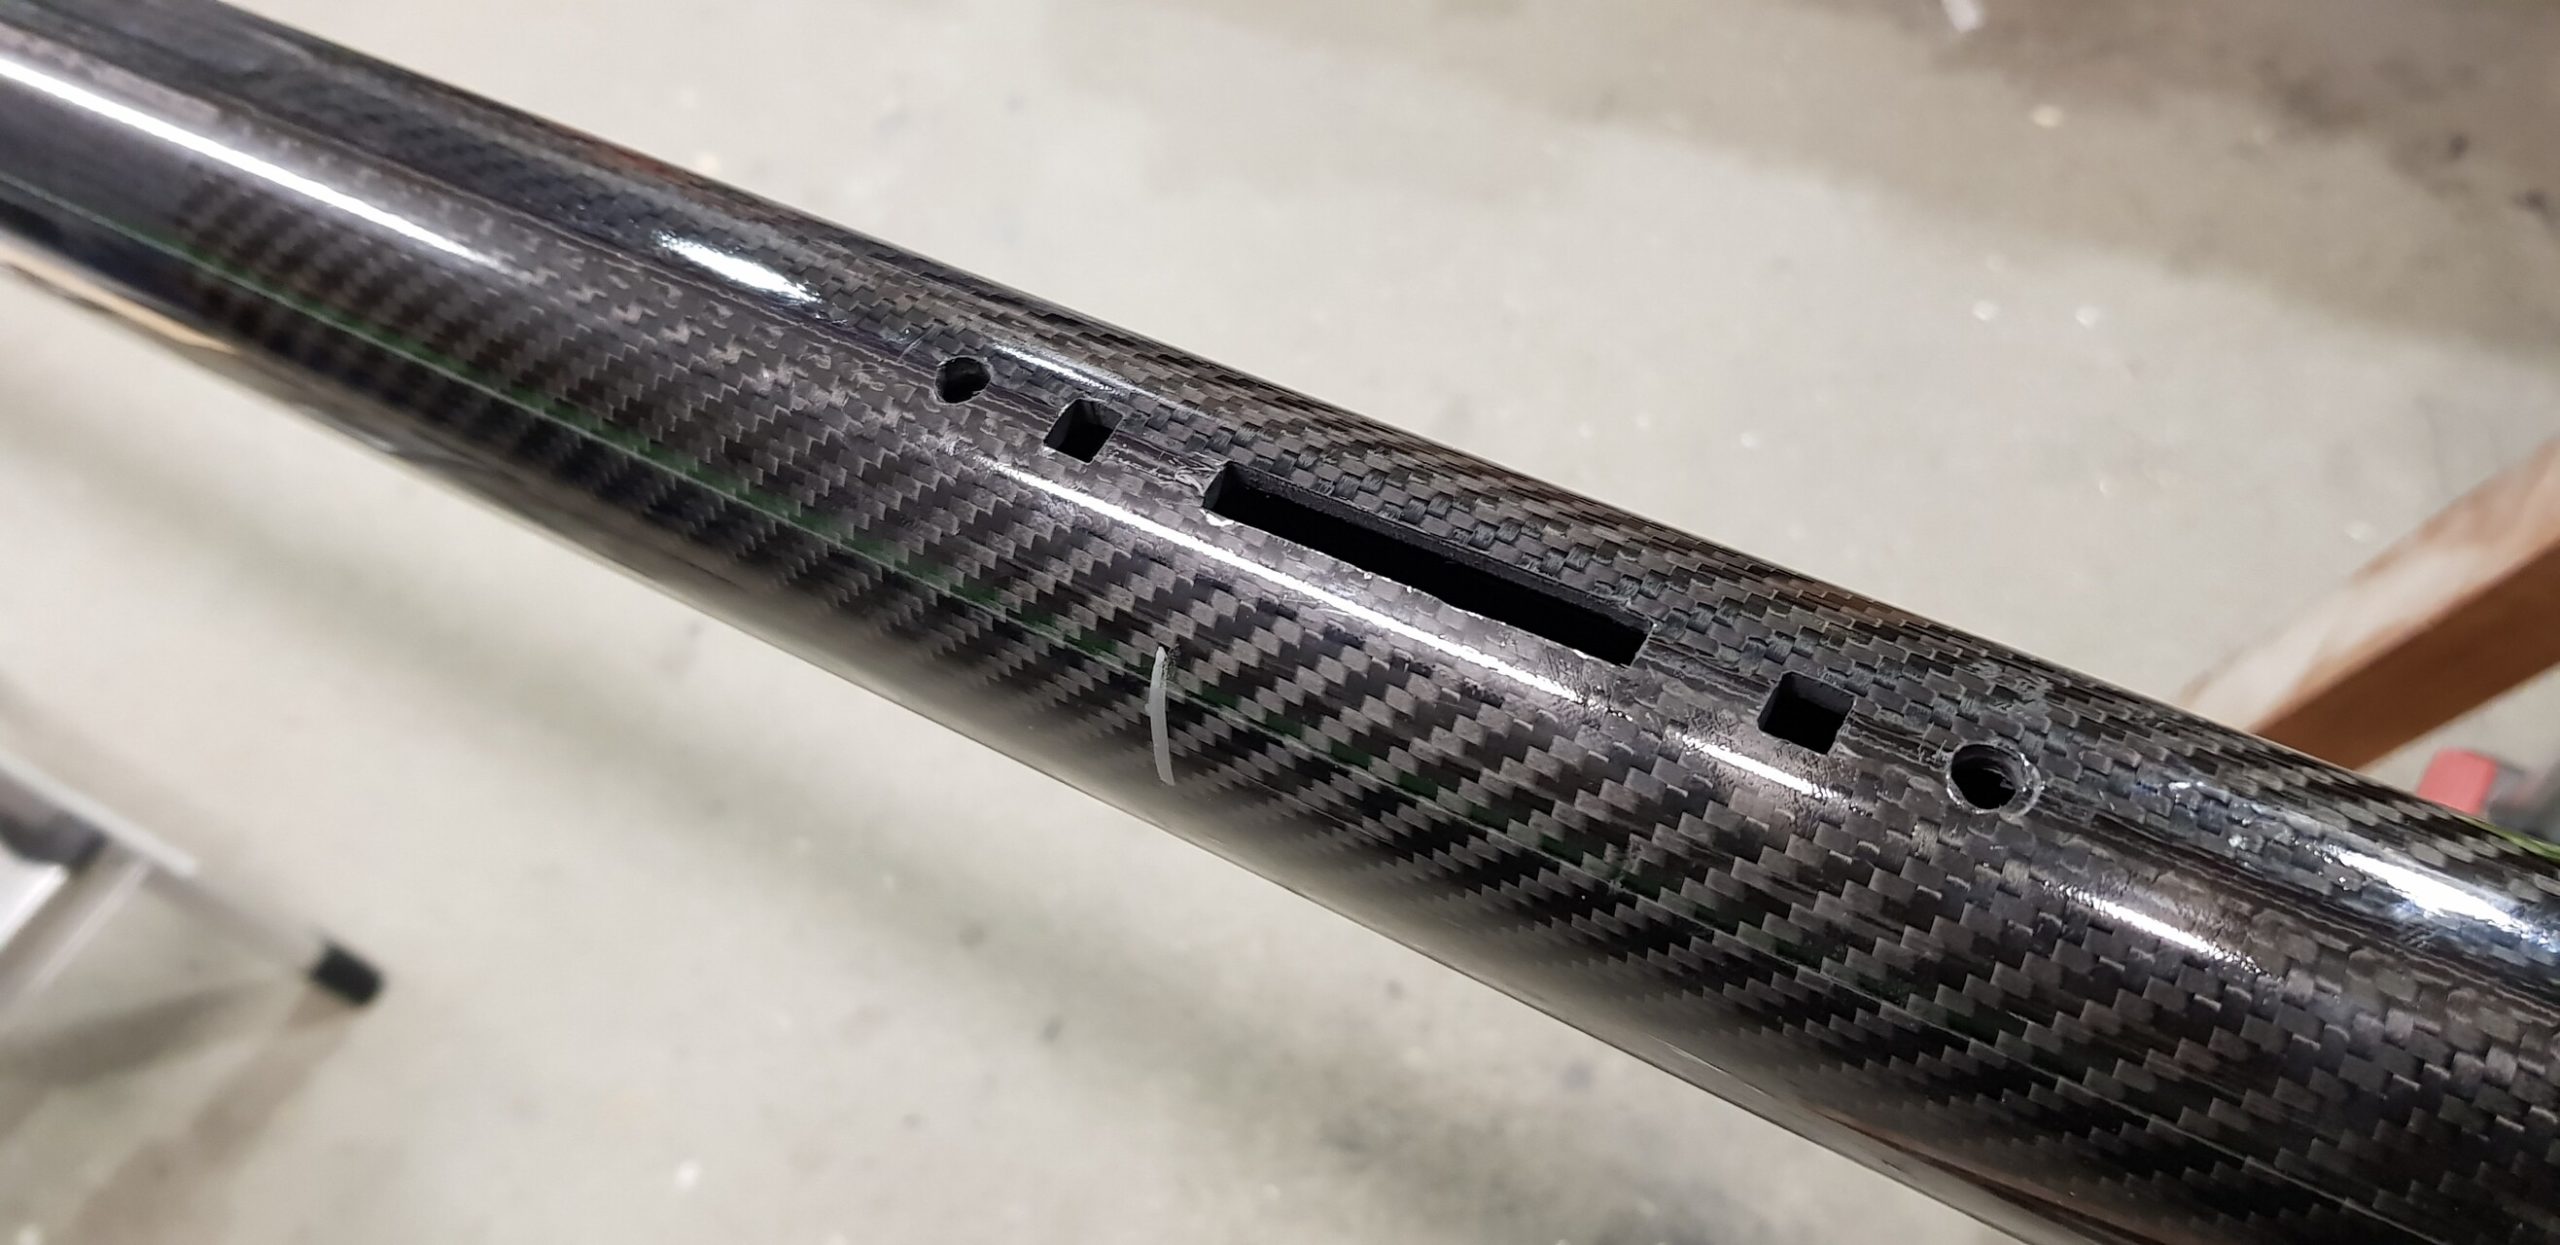
First things first. I use Dremel tool with approx. 1mm thick steel cutting blade to cut slot between blade and carbon flange.
I make a fine slot along almost full lenght of the blade making sure cutting disc stays in contact with steel at all time. This way I keep big outside portion of the flange untached. The depth of the cut is usually not more than 2-3mm.
This produces 1mm slot. If you are sure there is no moisture in the runner you can proceed to the next step otherwise let the remaining moisture escape by keeping the runner in room temperature for couple of days.
Needle and syringe will be your next tool to fill the slot with epoxy. Make sure you get slot nicley filled. After curing trim the excess of epoxy and the runner is ready to go. I add black dye to epoxy to blend the fix into body.
After this fix I never had the runner fail again.
Take care of your runners at all time. Short glance costs nothing and saves a lot of problems.
If your runner unexpectedly doesn’t nicely snug into chock any more it may be too late for this easy fix and new tutorial will be needed. I hope not.
If you are using traditional hook system for attaching your cables to the mast here is an idea of how you can install the “nose” hound type.
Step 1
Prepare the fitting. Fillet the edges and tap two holes. I tap 6mm thread.
Step 2
Prepare the mast to accommodate the fitting. Make sure you get all measurements right. Remember – measure twice – cut once.
Step 3
Apply glass reinforcement on top of the fitting. I use 6 layers of biax 300g/m2. I use black dye to tint the resin – after excess resin comes out it looks nice from the outside.
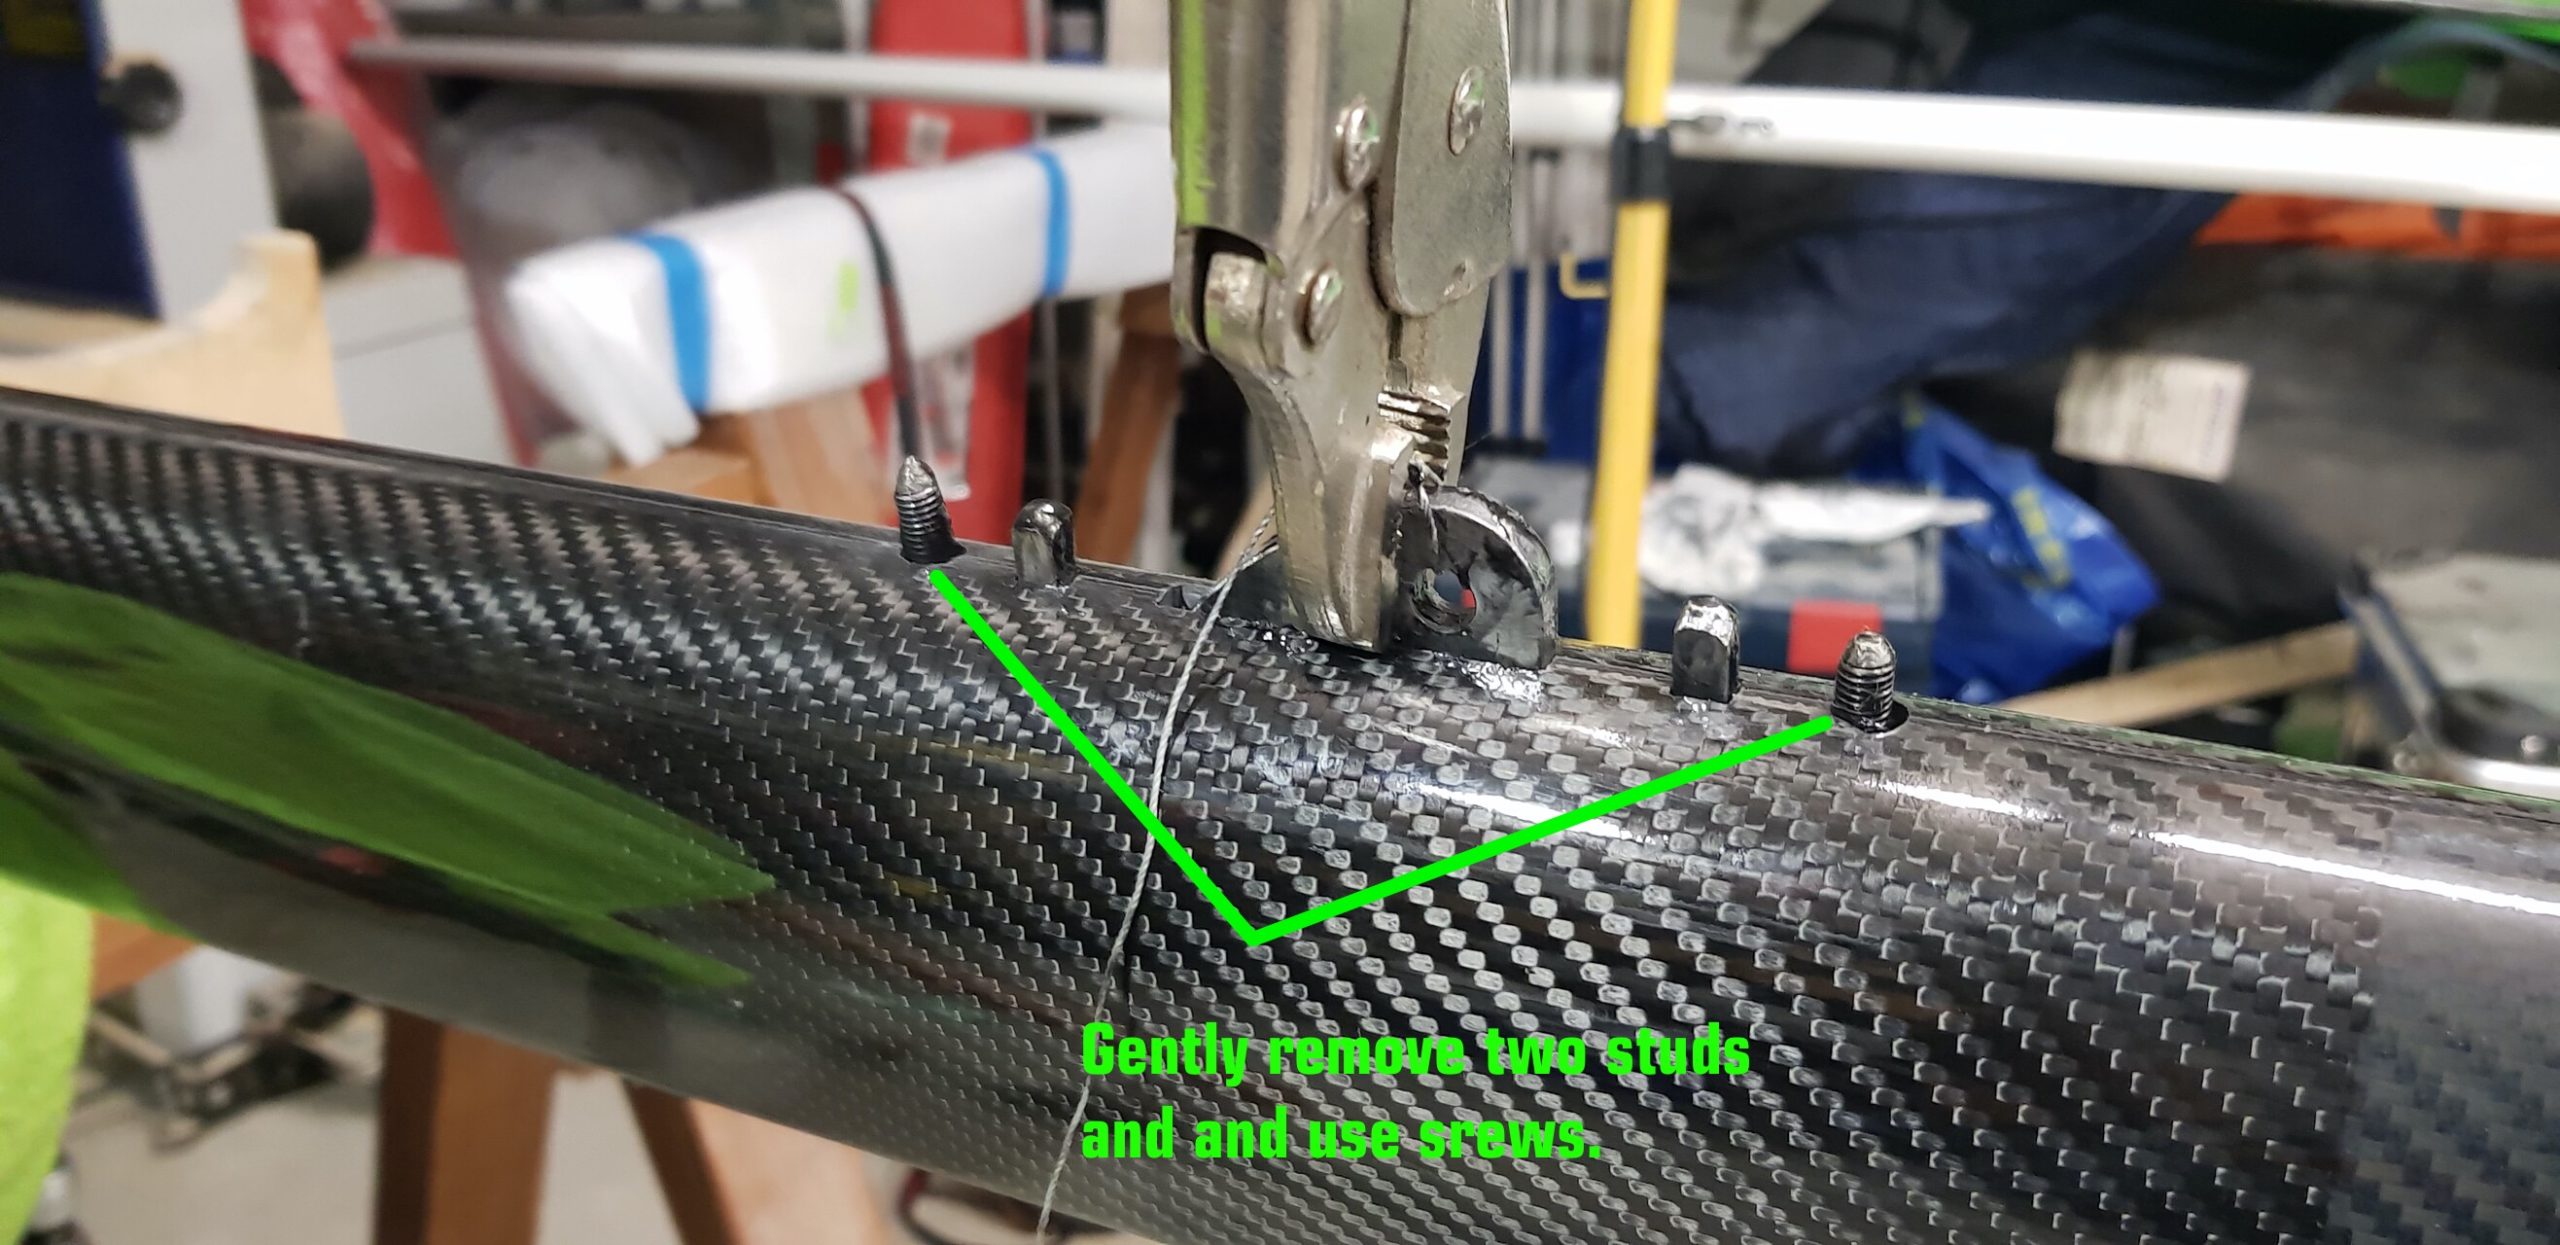
Before glass comes on I install two 6mm studs to keep holes opening clear from fibers before putting default screws.
Step 4
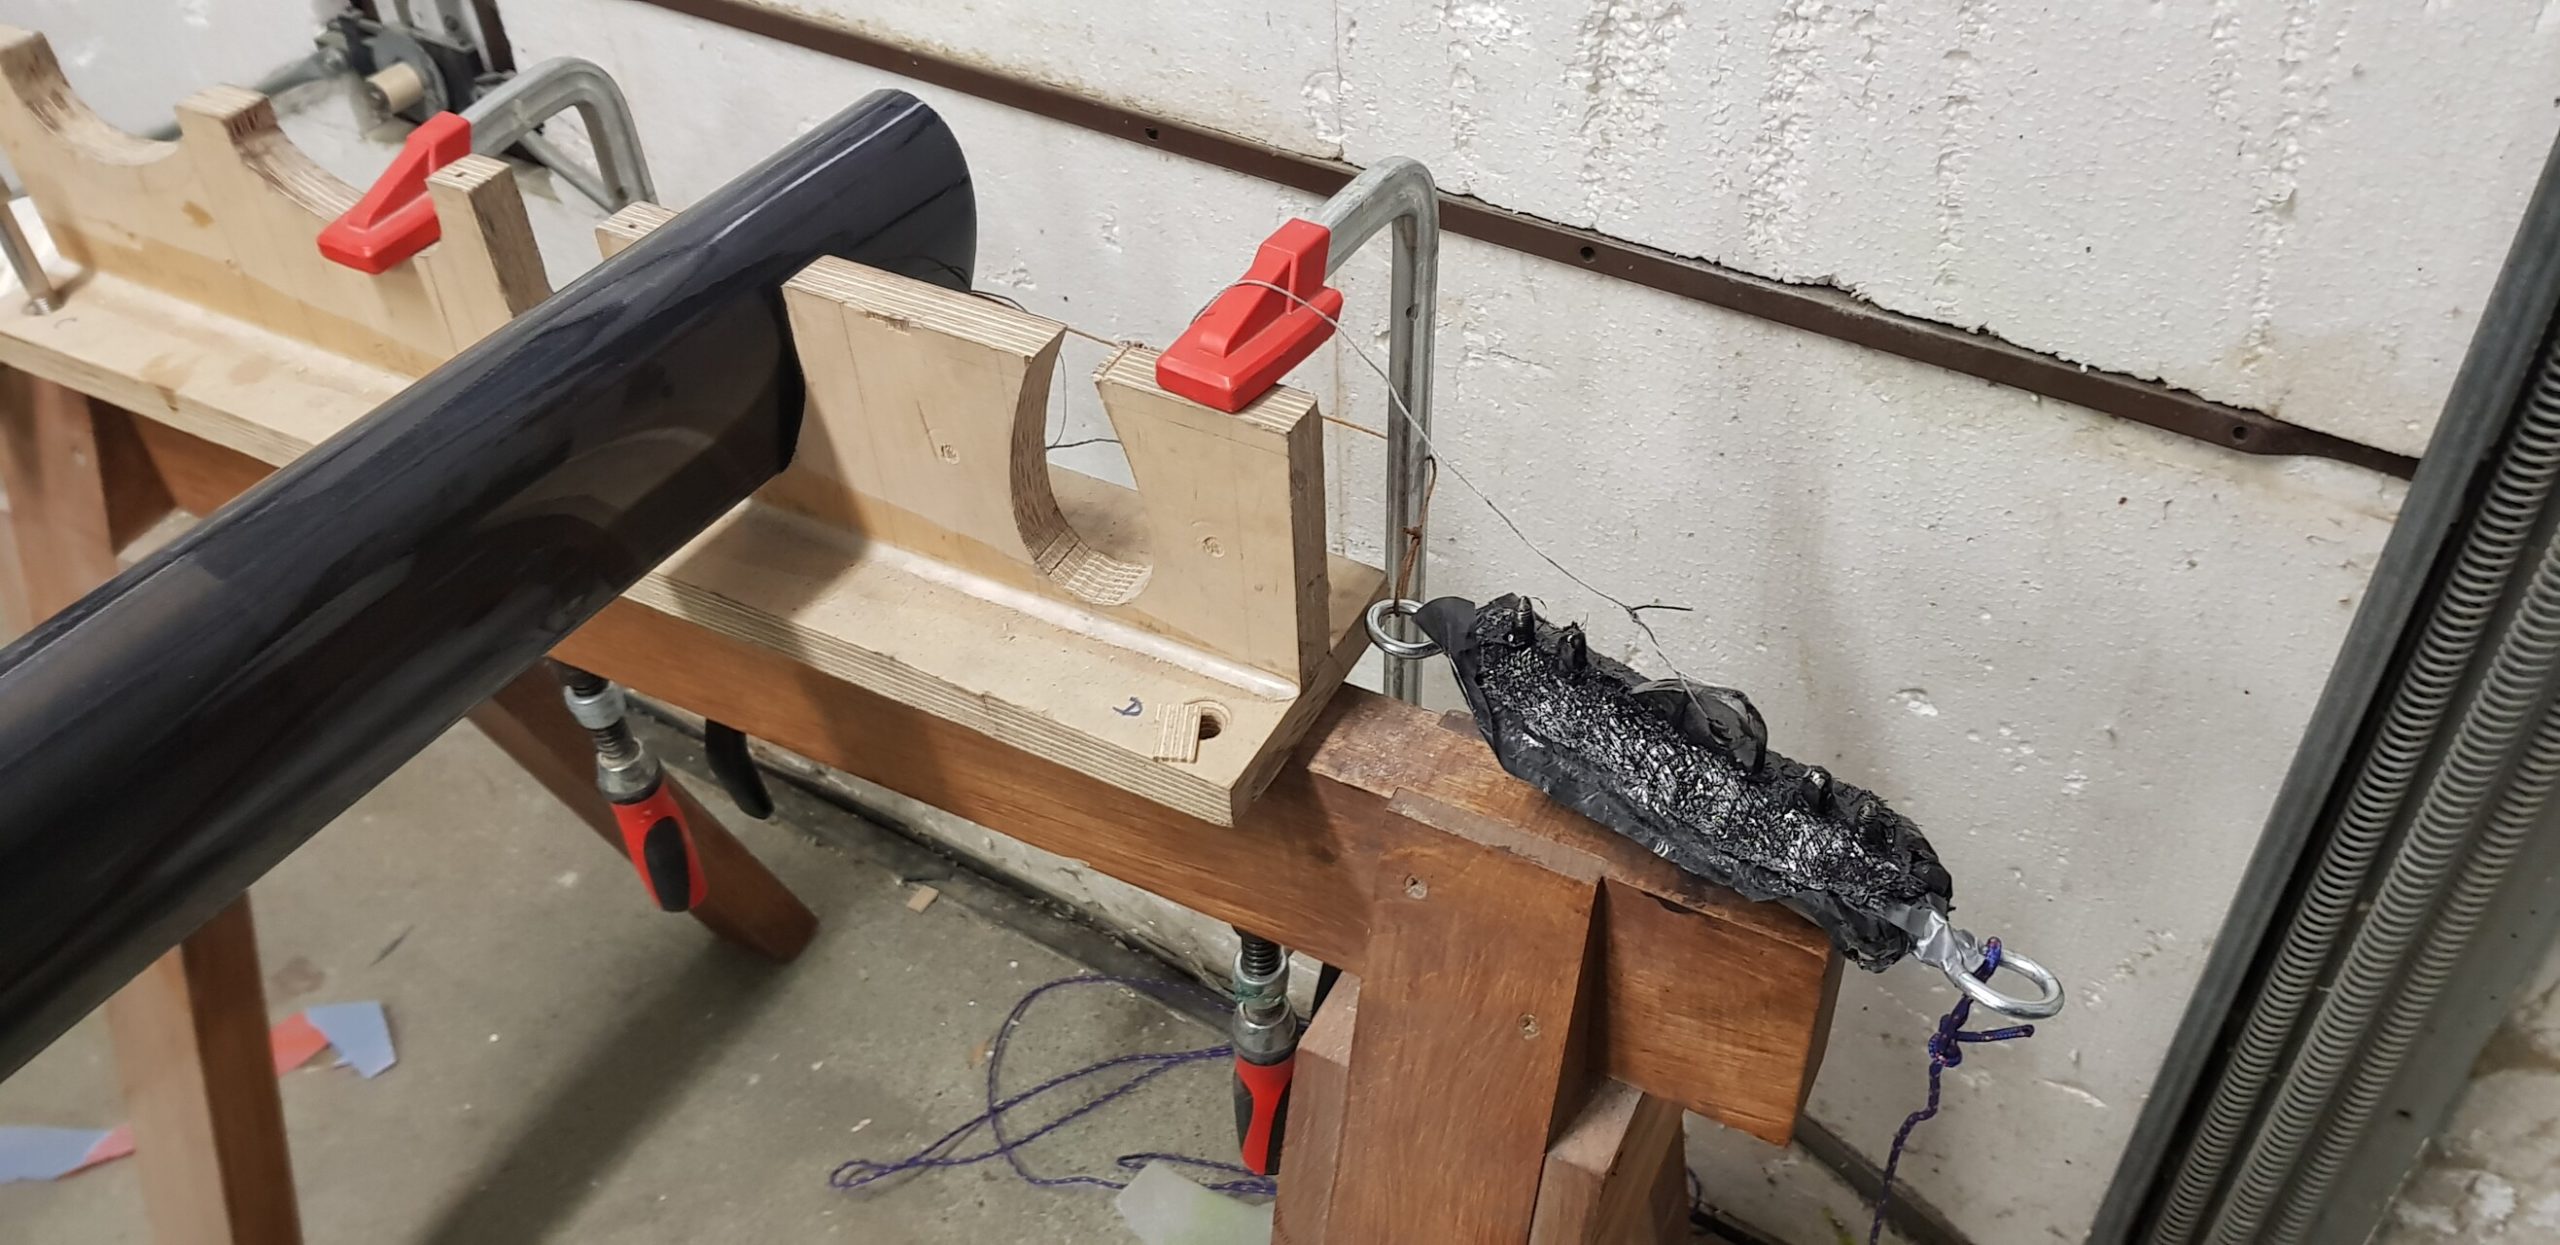
Drive the fitting into the mast. My favorite way is using thin cords (due to limitation in shop space). One cord to pull nose in and the other to take cart out. Notice pull in cord is attached to nose. Once the fitting is in place it will be used tu lift it up.
Step 5
Pull the cart gently inside the tube and lift it up. Have some sort of clamp ready. Once the nose shows up clamp it, remove temporary studs and install screws.
Clean excess resin and leave it overnight.
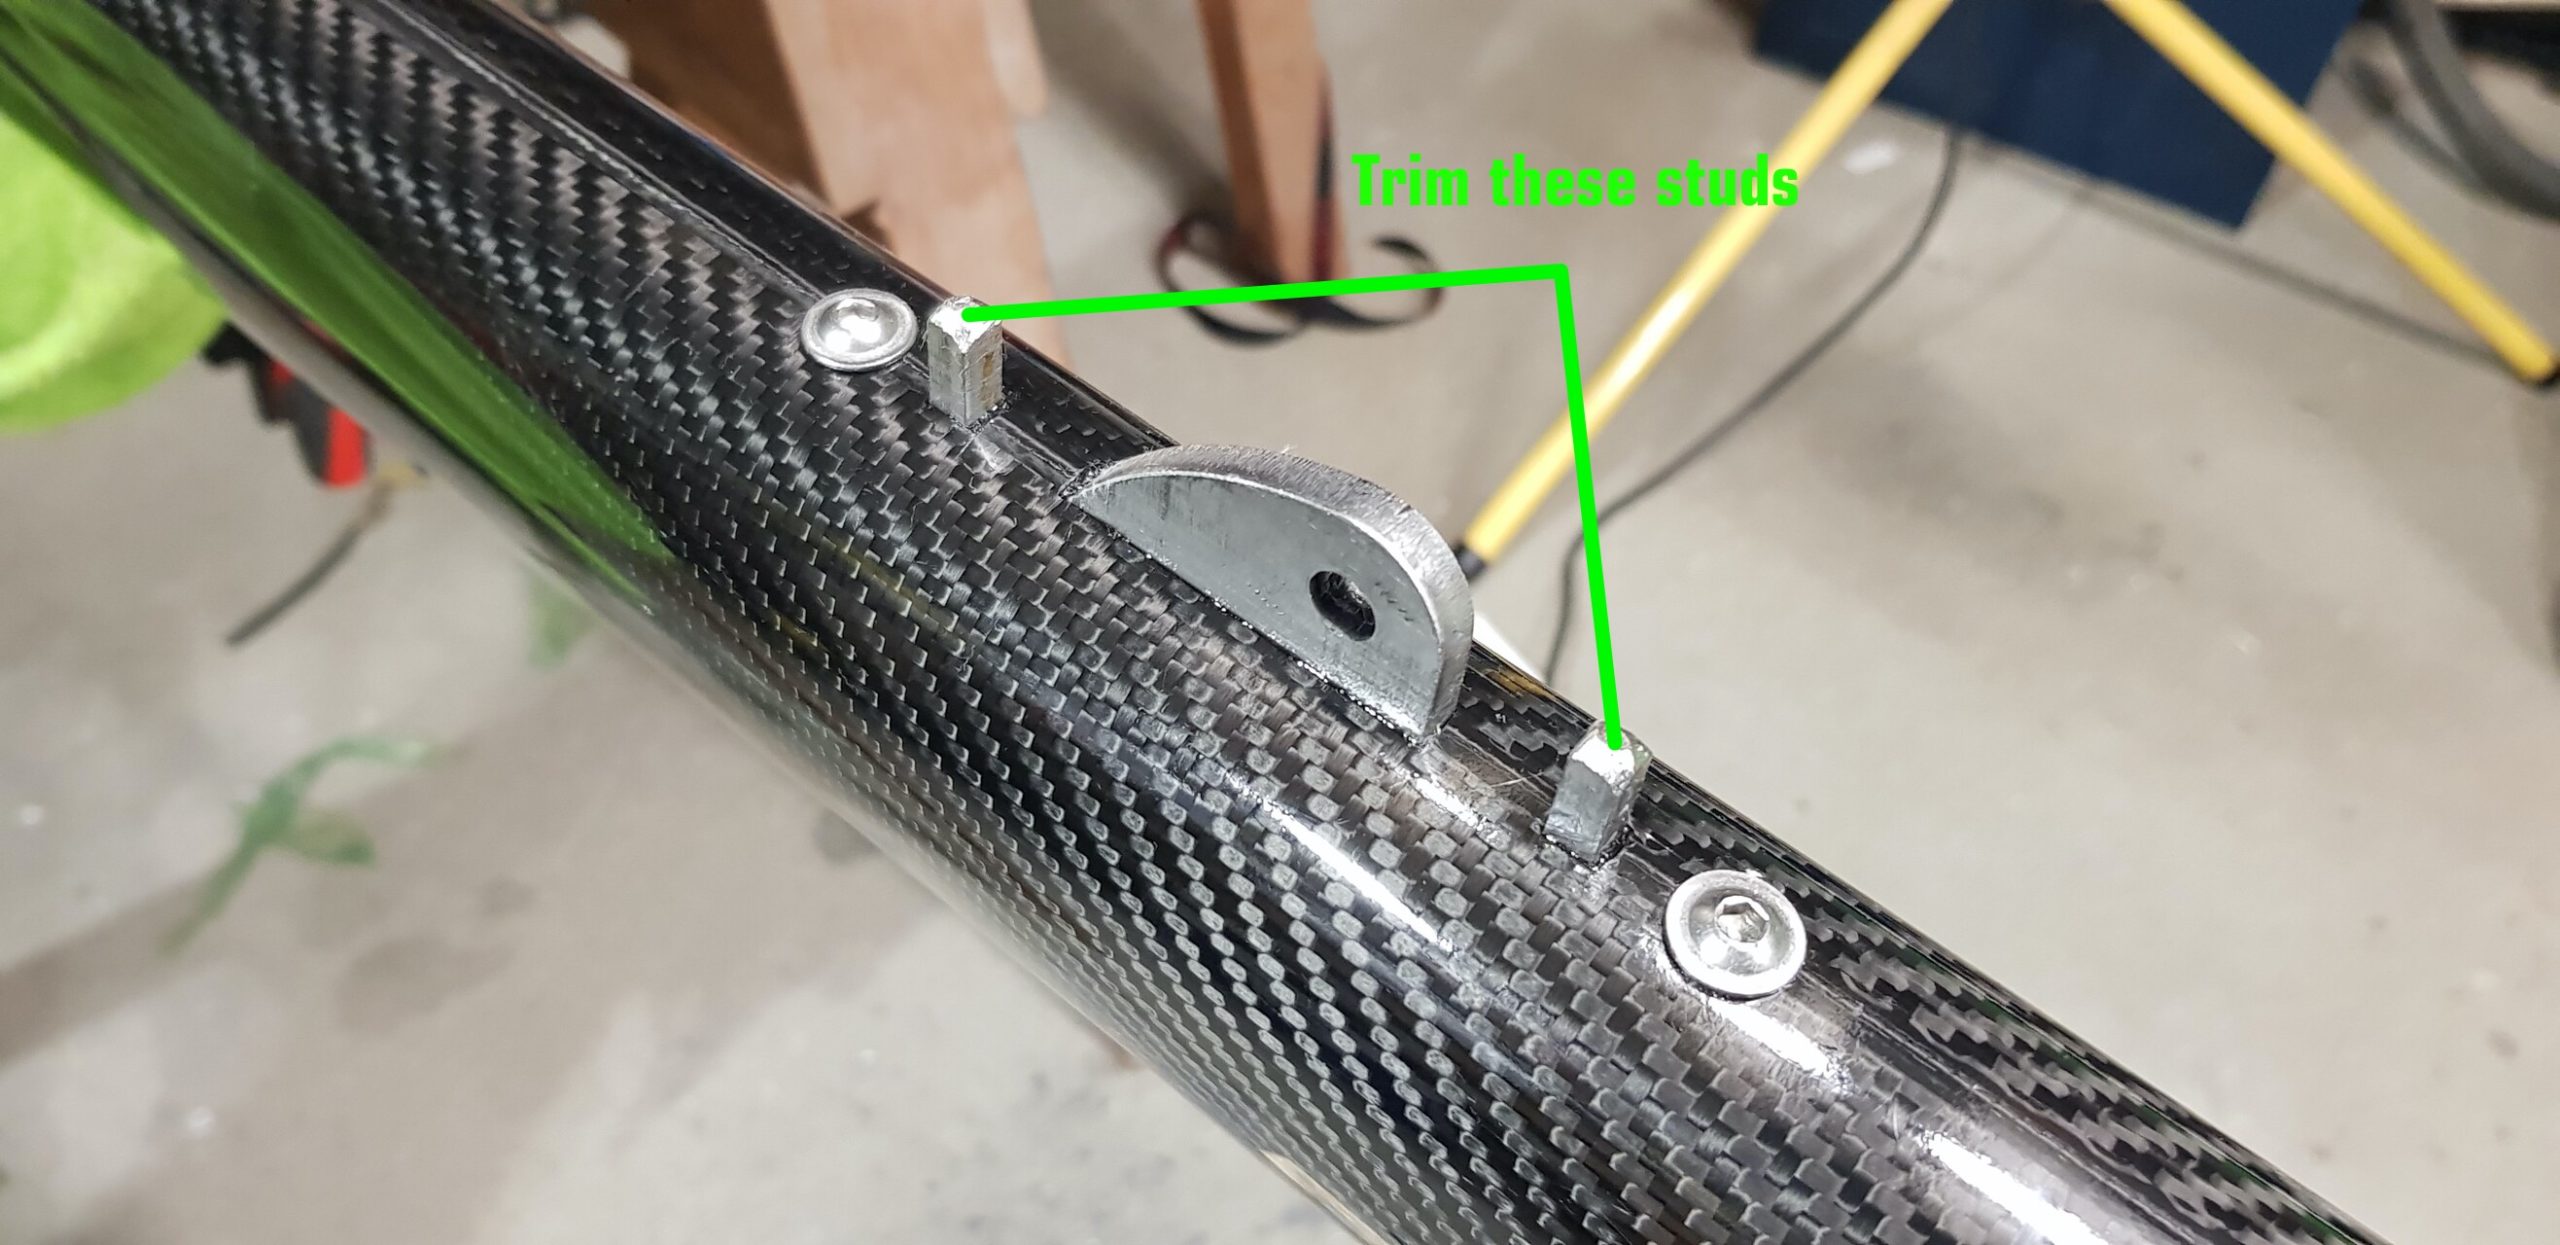
Step 6
Trim the studs – be careful not to overheat if you do it with angle grinder!
And you are ready to go!
Since some years this system is installed on all Moore Bro. masts. It greatly improves mast rotation and lasts forever.
Last year I had a chance to see how in reality mast hound is fixed to the mast wall from the inside. Here is is the picture:
Before I enter the hound into the mast I apply 6 layers of glass biaxial 300g/m2. The purpose is to fill the gap between inner mast wall and hound. The result as you see is perfect. There are no air pockets and fit is as expected.
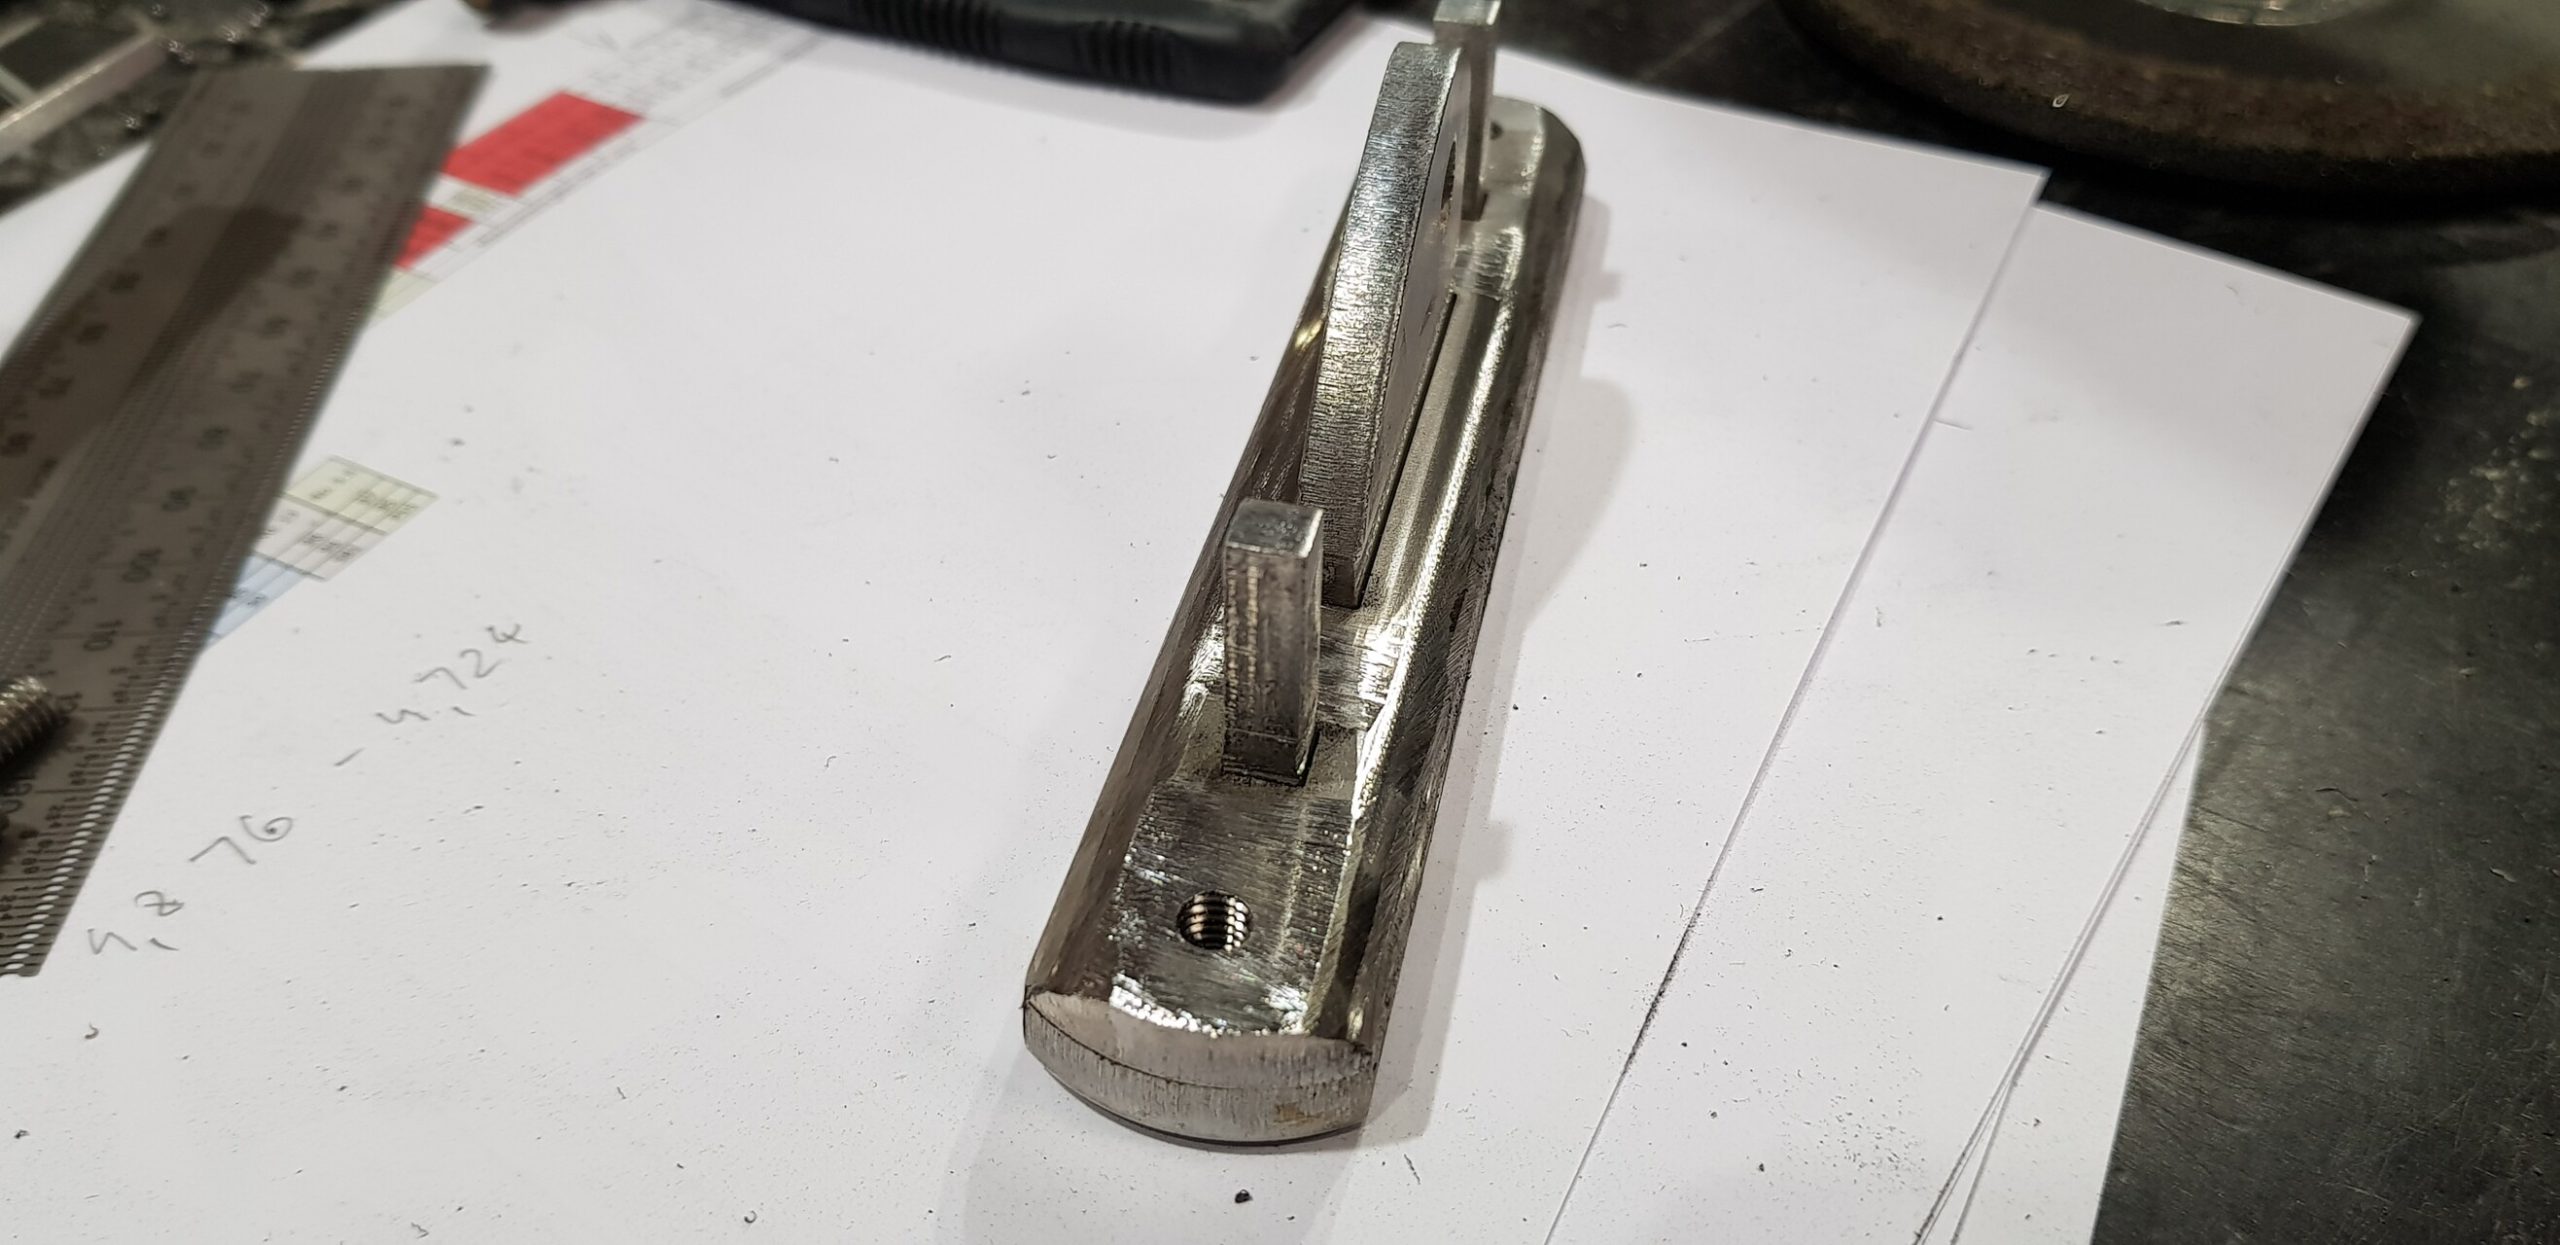
And this is how mast hound looks like prepared to receive glass and resin.
I will make a separate post on how to install a hound step by step.