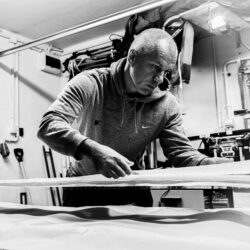
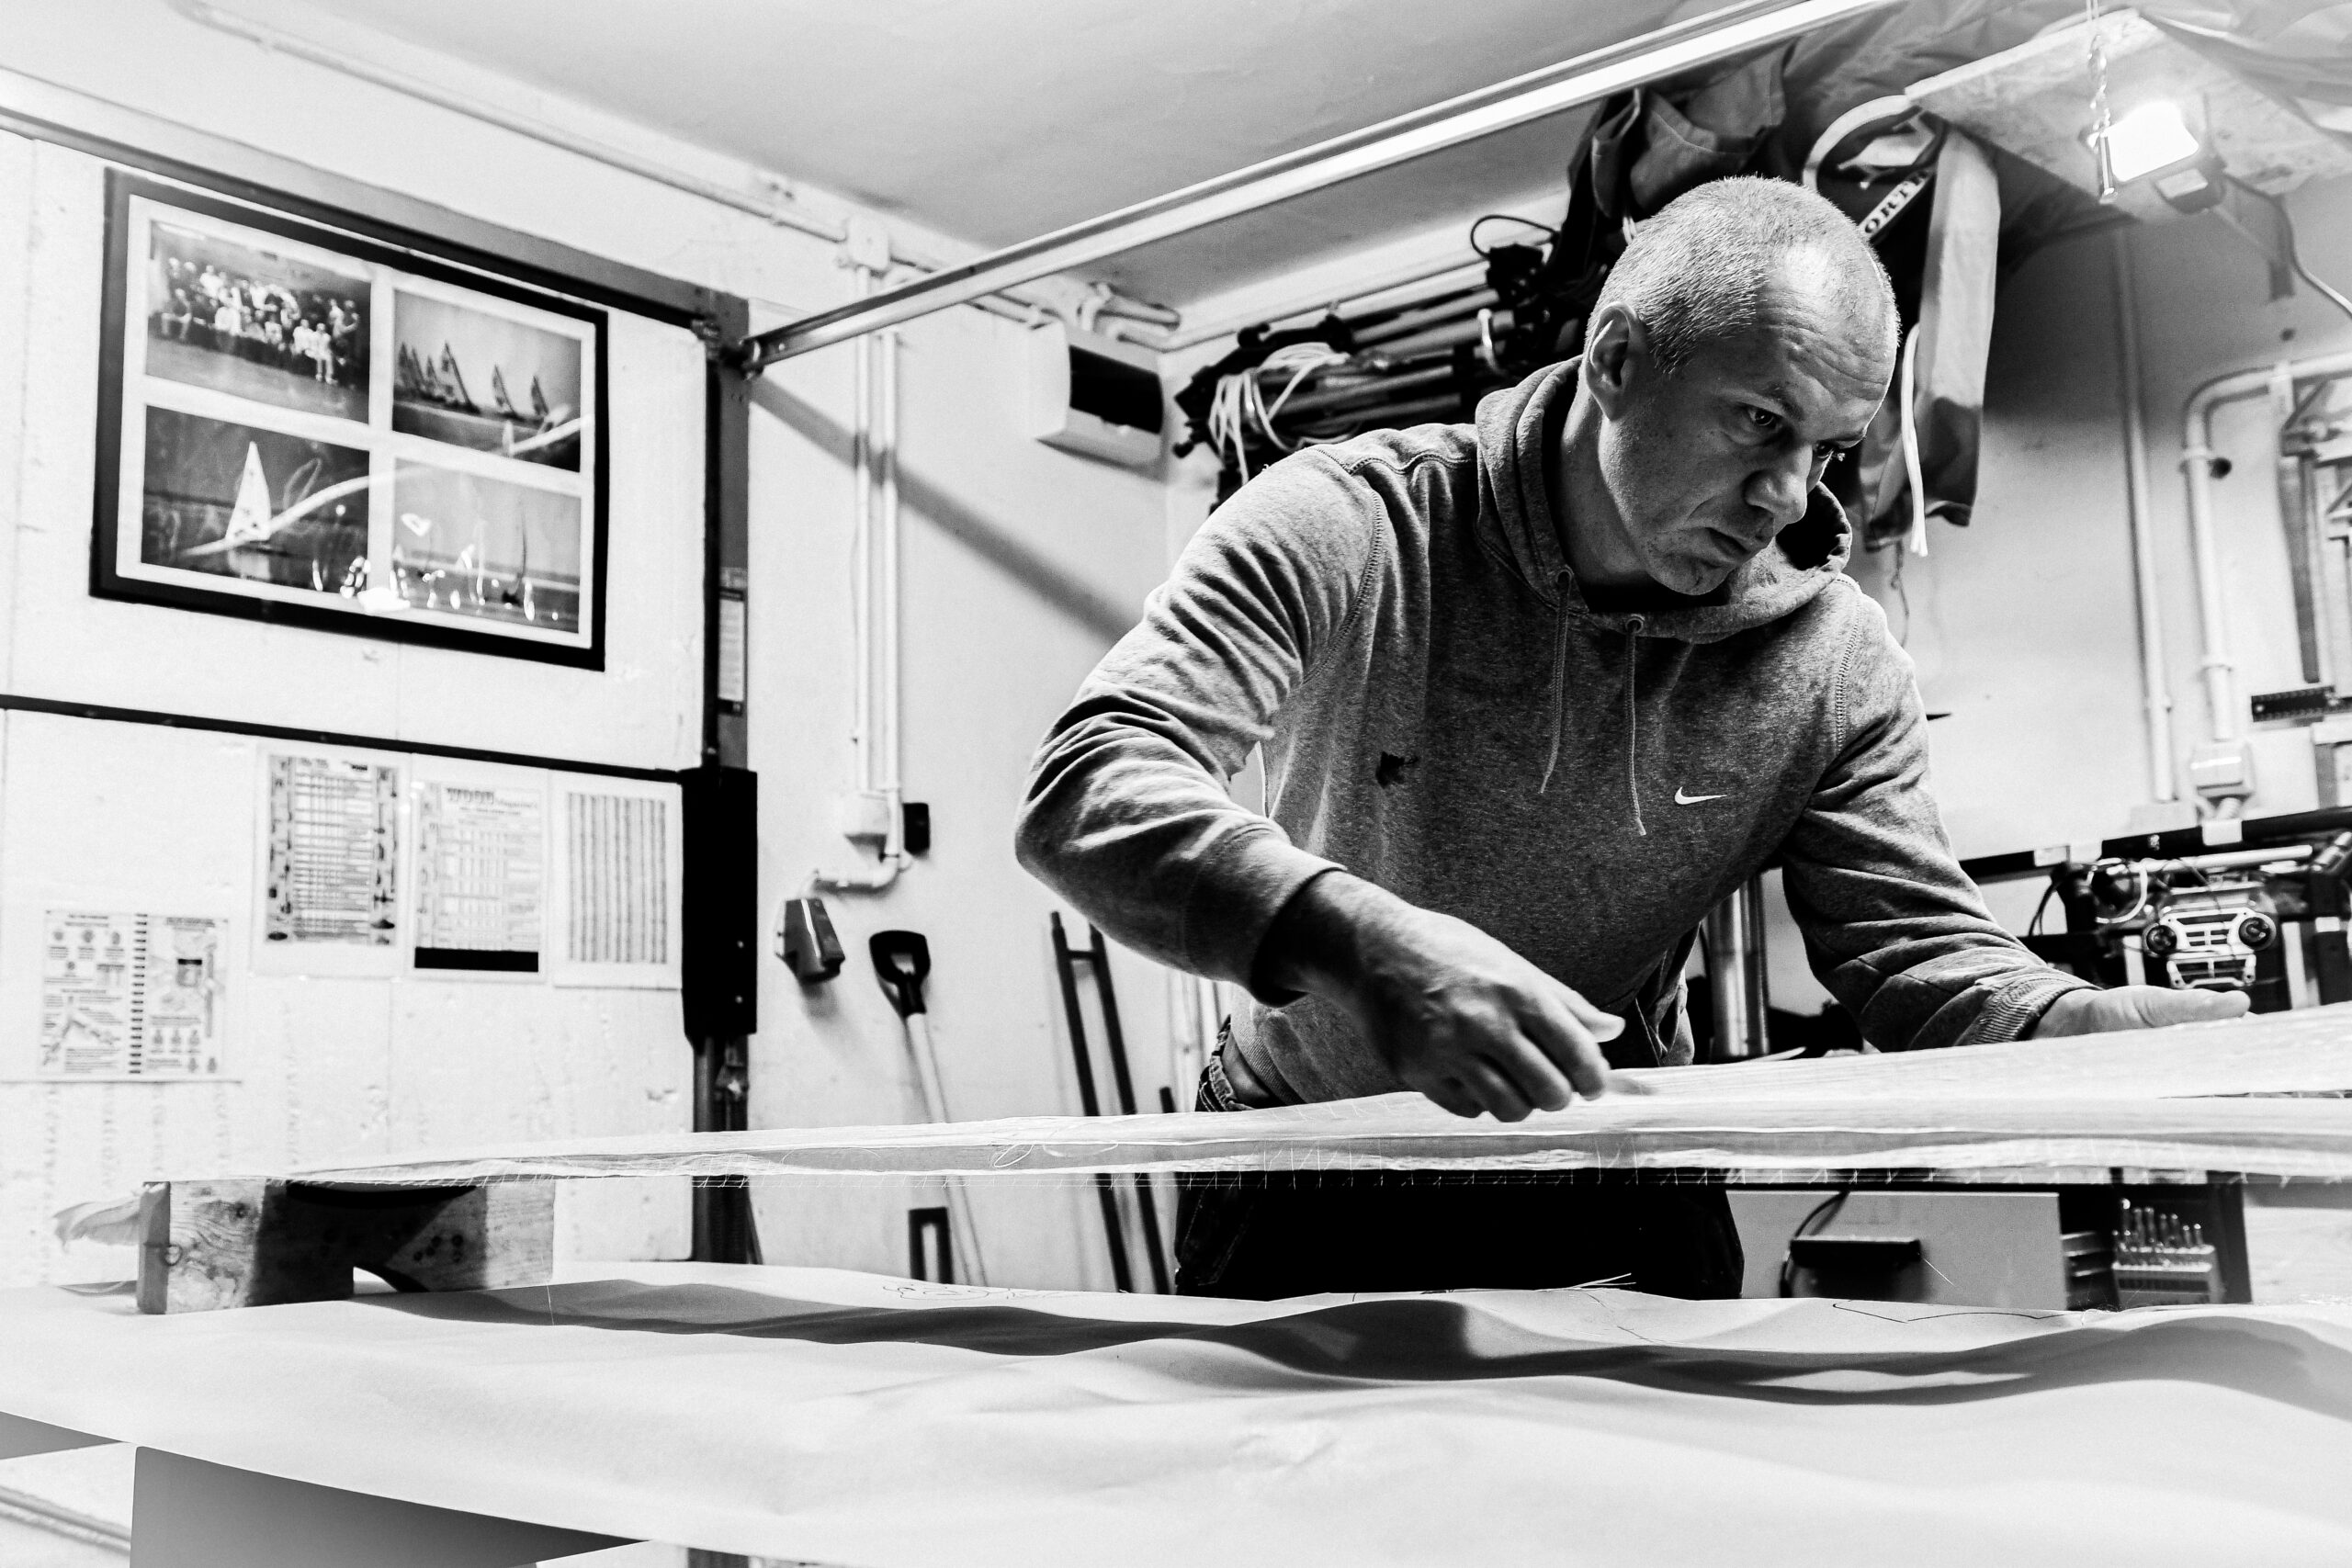
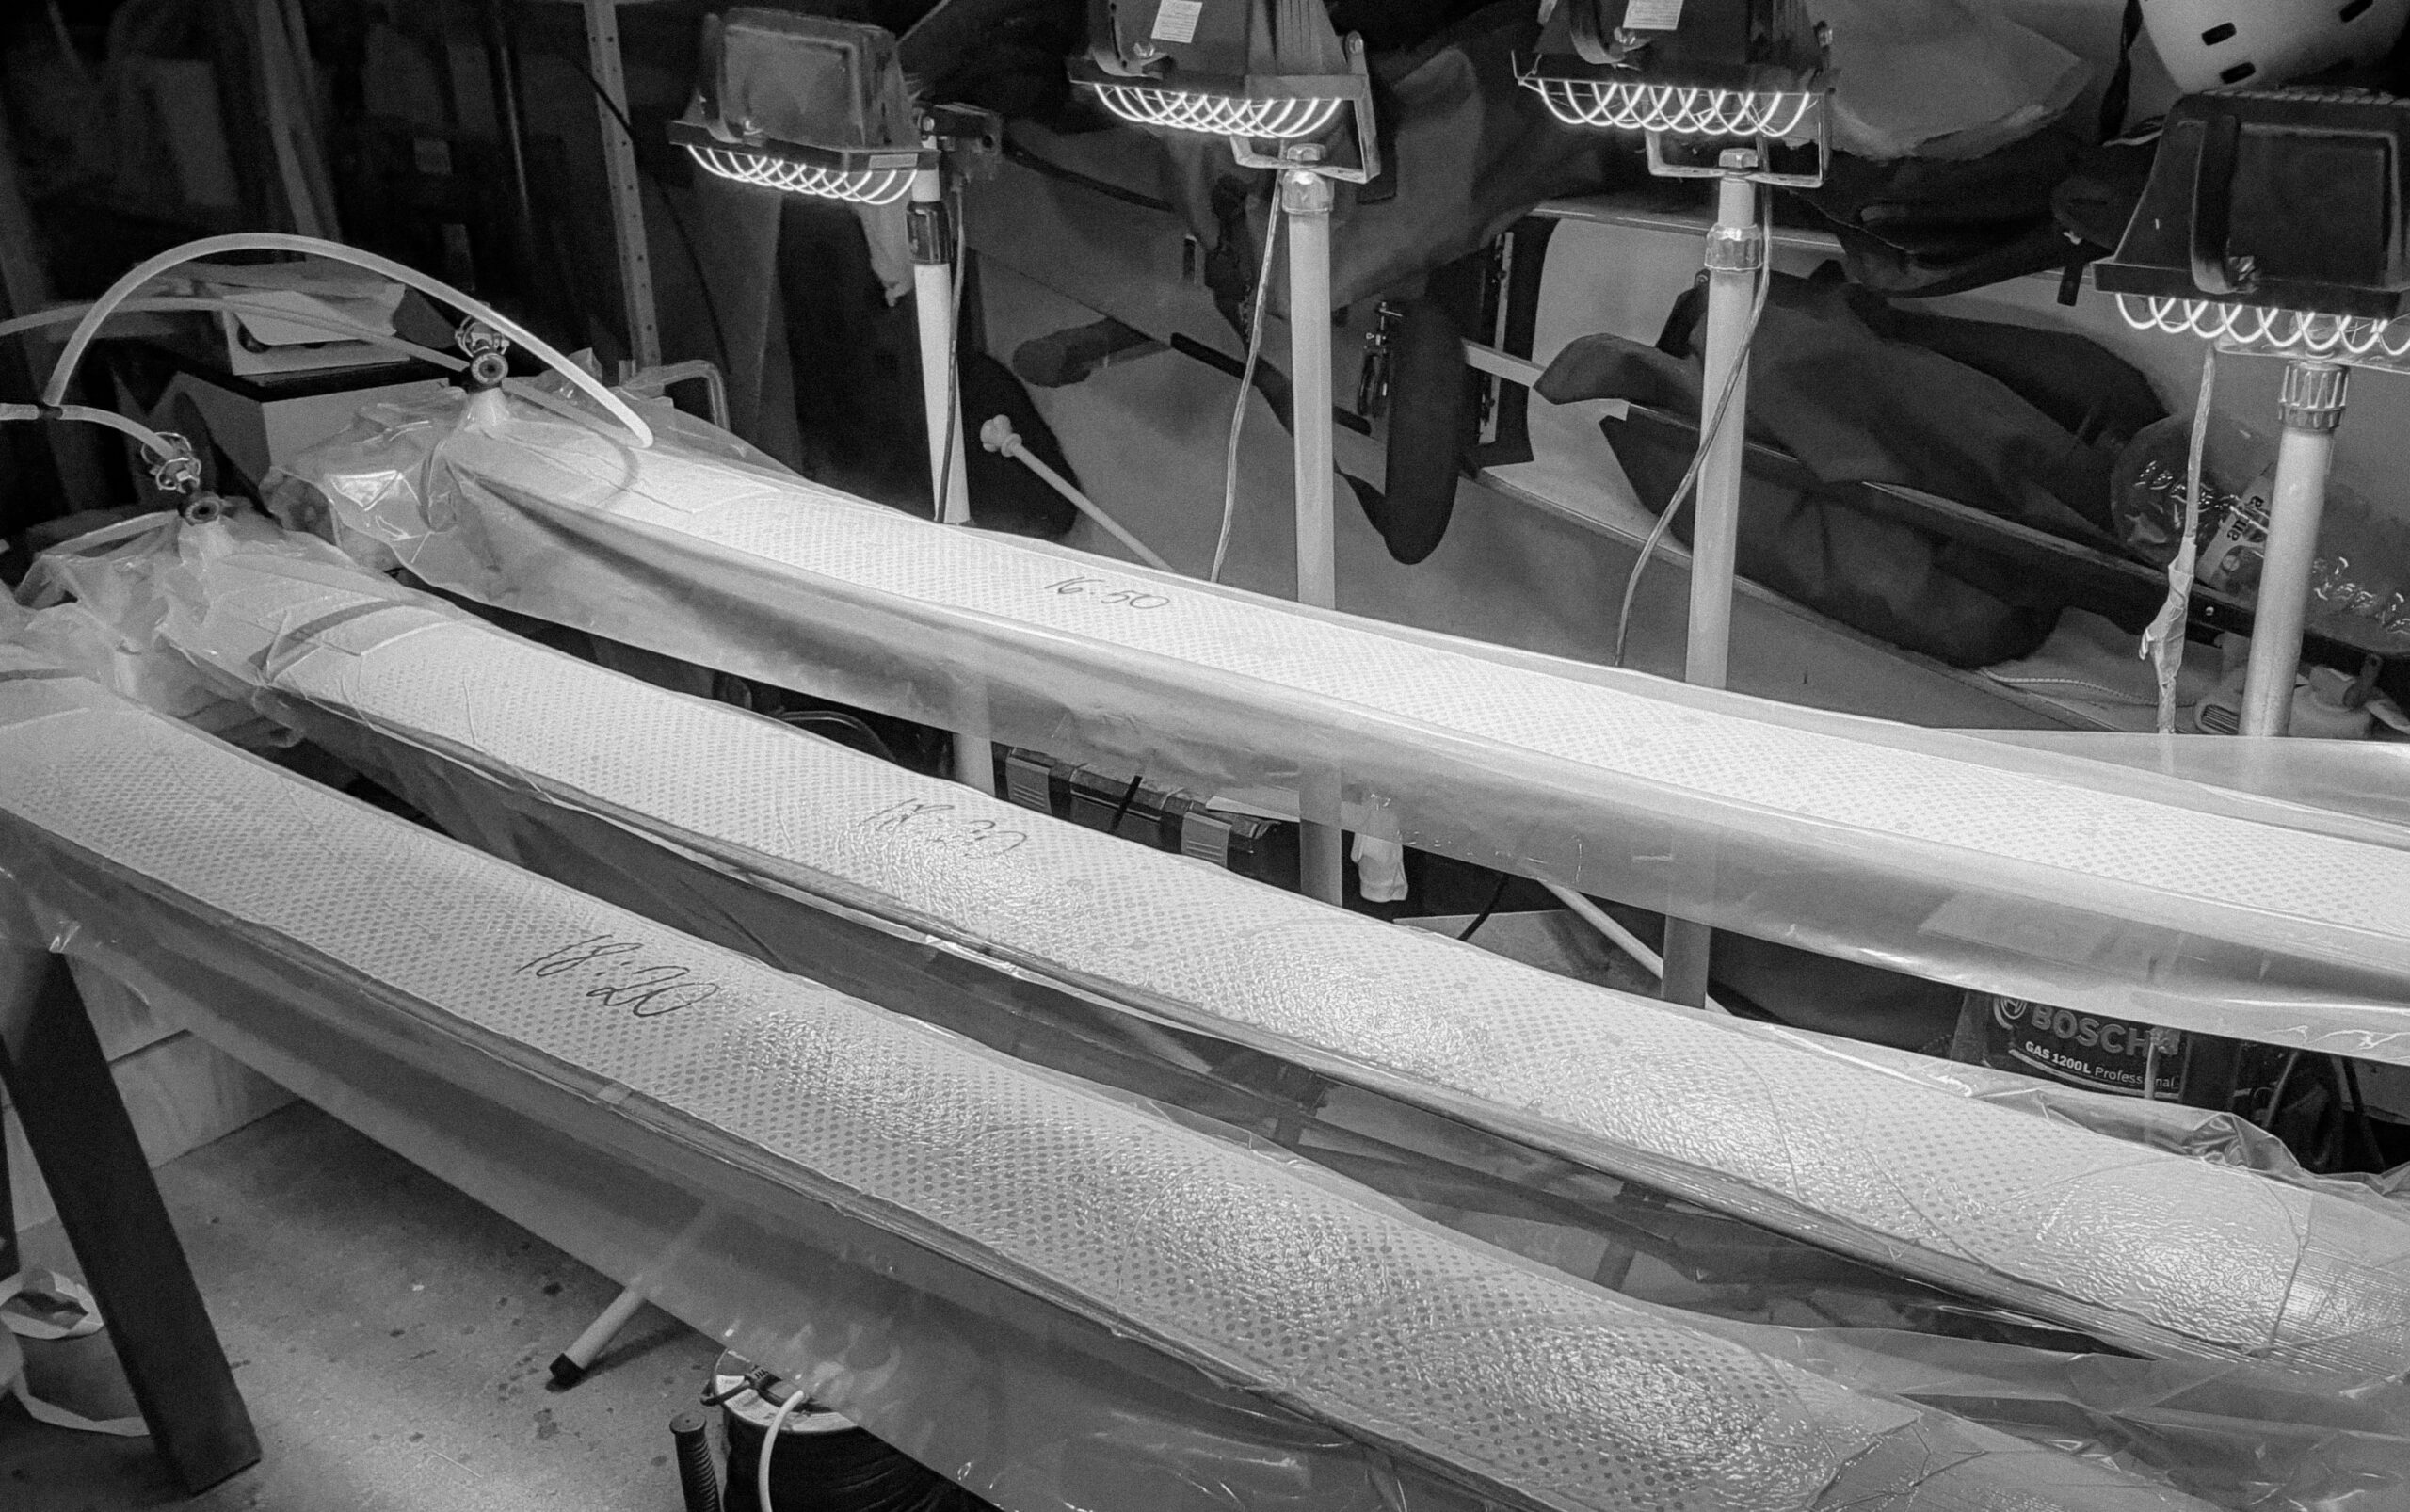
Mastering plank build up

Building runner planks started for me 10 years ago. This year I will complete plank no. 57. A lot of experience gained over last decade. Some fails and some designs that never saw the ice –  awaiting for longer winter allowing time to test. 

Runner plank vacuum bagging

Today afternoon I challenged myself with simultaneous vacuum bagging of 5 planks.  I use bagging for stiffening planks. In this year’s batch two planks are stiffened for junior sailors, one for myself and the other two for friends who gained a little during lock down 😉 My feeling is that with next lock down there may be more requests for vacuum bagging 😉 

Woodworking in icesailing

Woodworking in icesailing projects is the most pleasing part.  Starting from lumber selection, touching the nature, cutting, bonding, bending, shaping.  Wood creates unique smell in your shop. And then BANG! You open epoxy hardener and magic is gone.

Easy runner fix

Every sailor should carefully inspect his runners after sailing not only checking for edge quality, shim tapes etc. but also for eventual delamination. It may happen that runner body exposed to extreme loads during sailing will delaminate from steel. Above picture represents this situation. You can see a very tiny  gap between carbon flange and blade.  If we fix it the runner it will be fine, if we continue sailing the water will be absorbed by the wooden core  and body will begin to swell. 

Here is quick and easy solution to fix it.

First things first. I use Dremel tool with approx. 1mm thick steel cutting blade  to cut slot between blade and carbon flange. 

I make a fine slot along almost full lenght of the blade making sure cutting disc stays in contact with steel at all time. This way I keep big outside portion of the flange untached. The depth of the cut is usually not more than 2-3mm.  

This produces 1mm slot. If you are sure there is no moisture in the runner you can proceed to the next step otherwise let the remaining  moisture escape by keeping the runner in room temperature for couple of days.

Needle and syringe will be your next tool to fill the slot with epoxy. Make sure you get slot nicley filled. After curing trim the excess of epoxy and the runner is ready to go. I add black dye to epoxy to blend the fix into body.

After this fix I never had the runner fail again.

Take care of your runners at all time. Short glance costs nothing and saves a lot of problems.

If your runner  unexpectedly doesn’t  nicely snug into chock any more it may be too late for this easy fix and new tutorial will be needed. I hope not.

R3 & R4 Sweden

Photo: Richard Strom

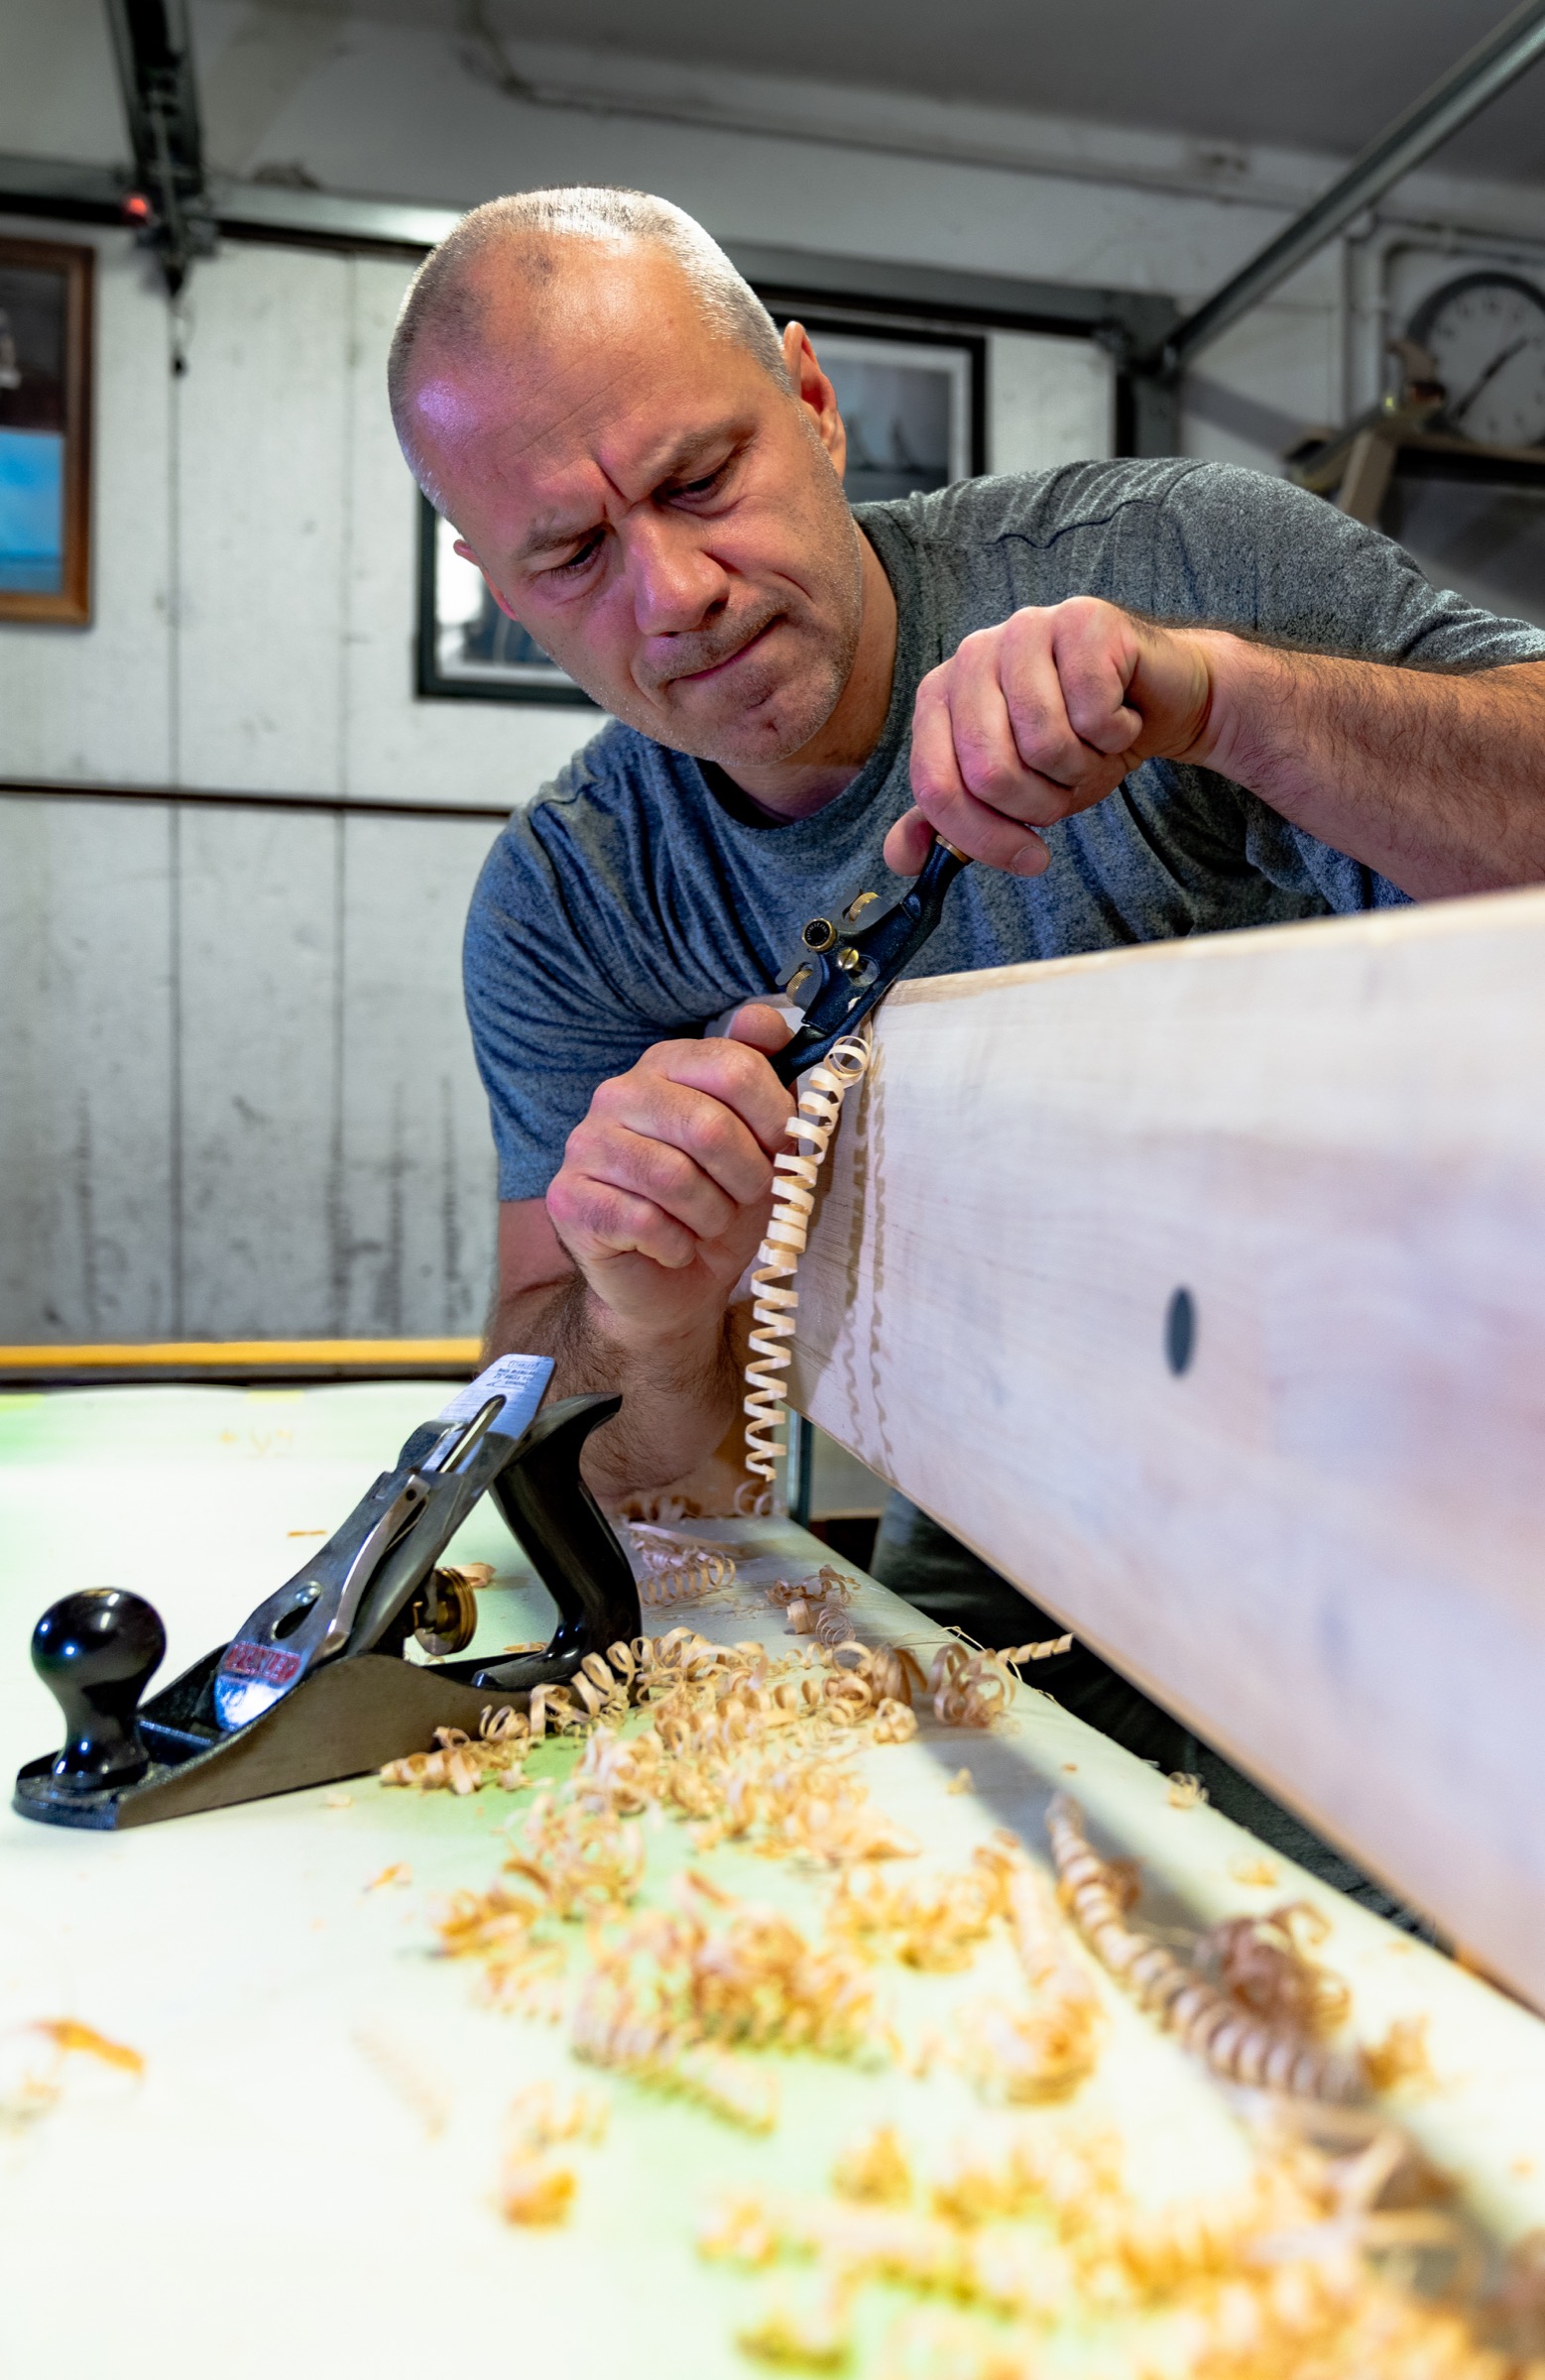
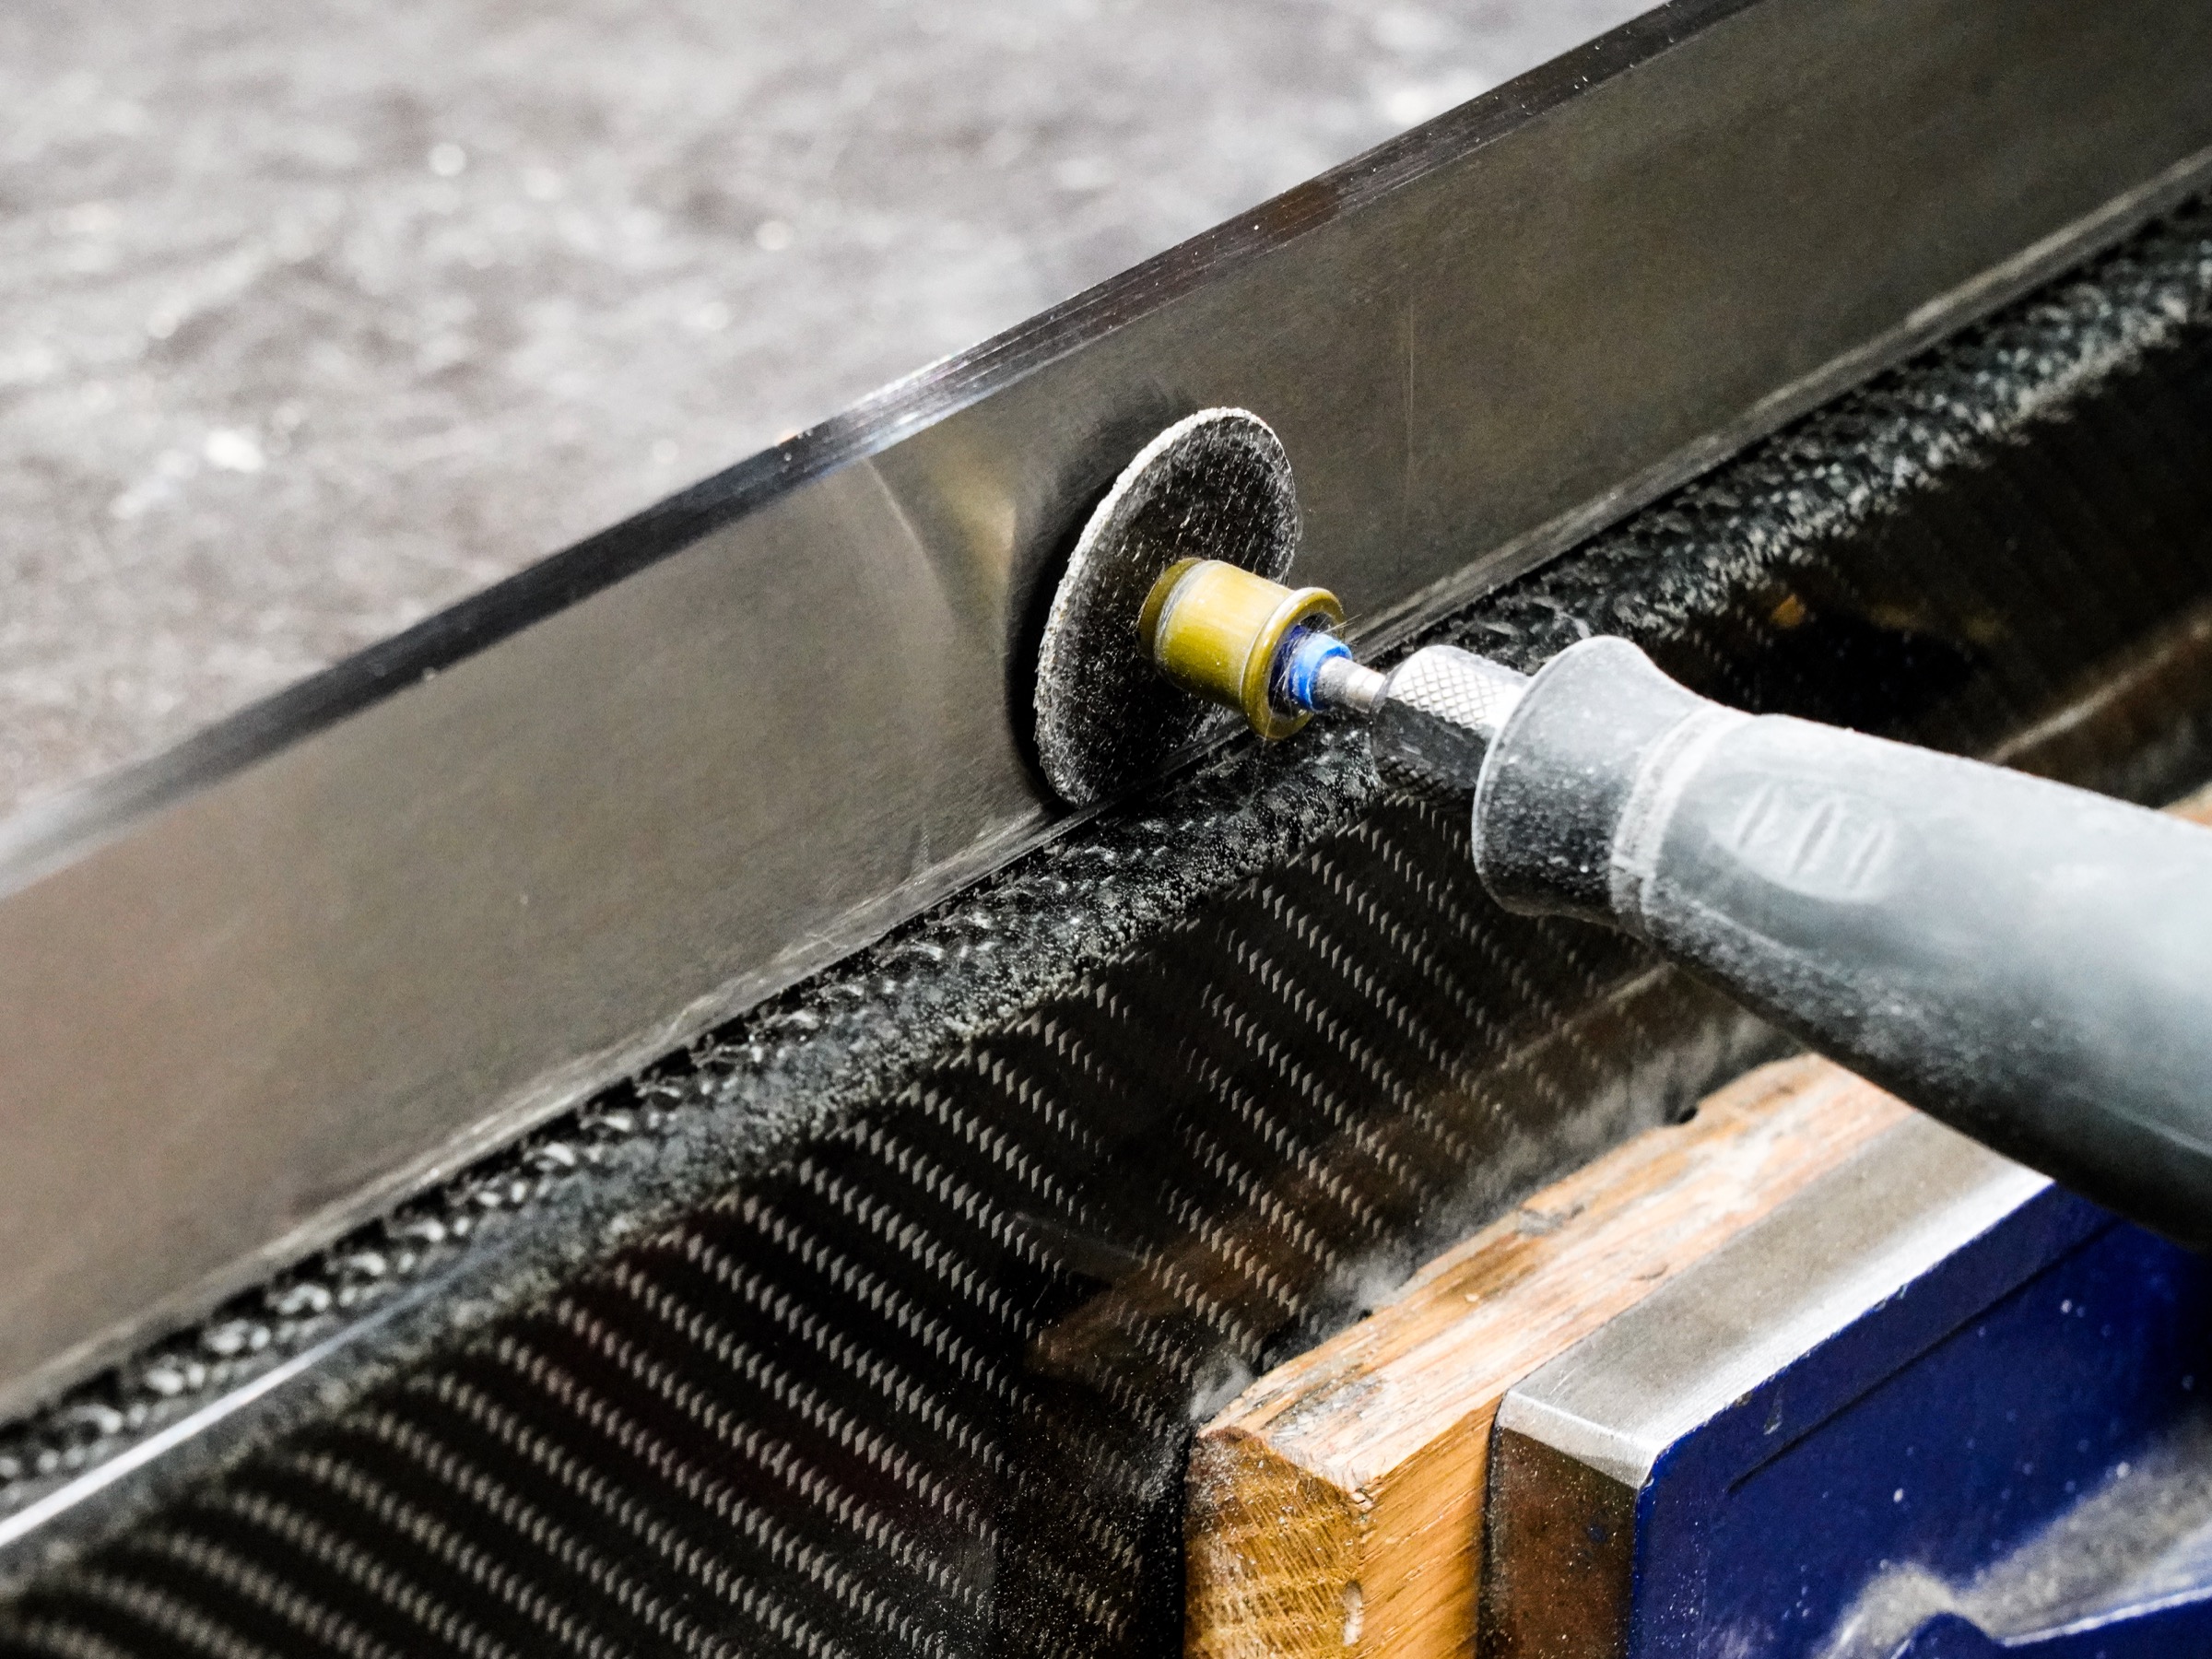
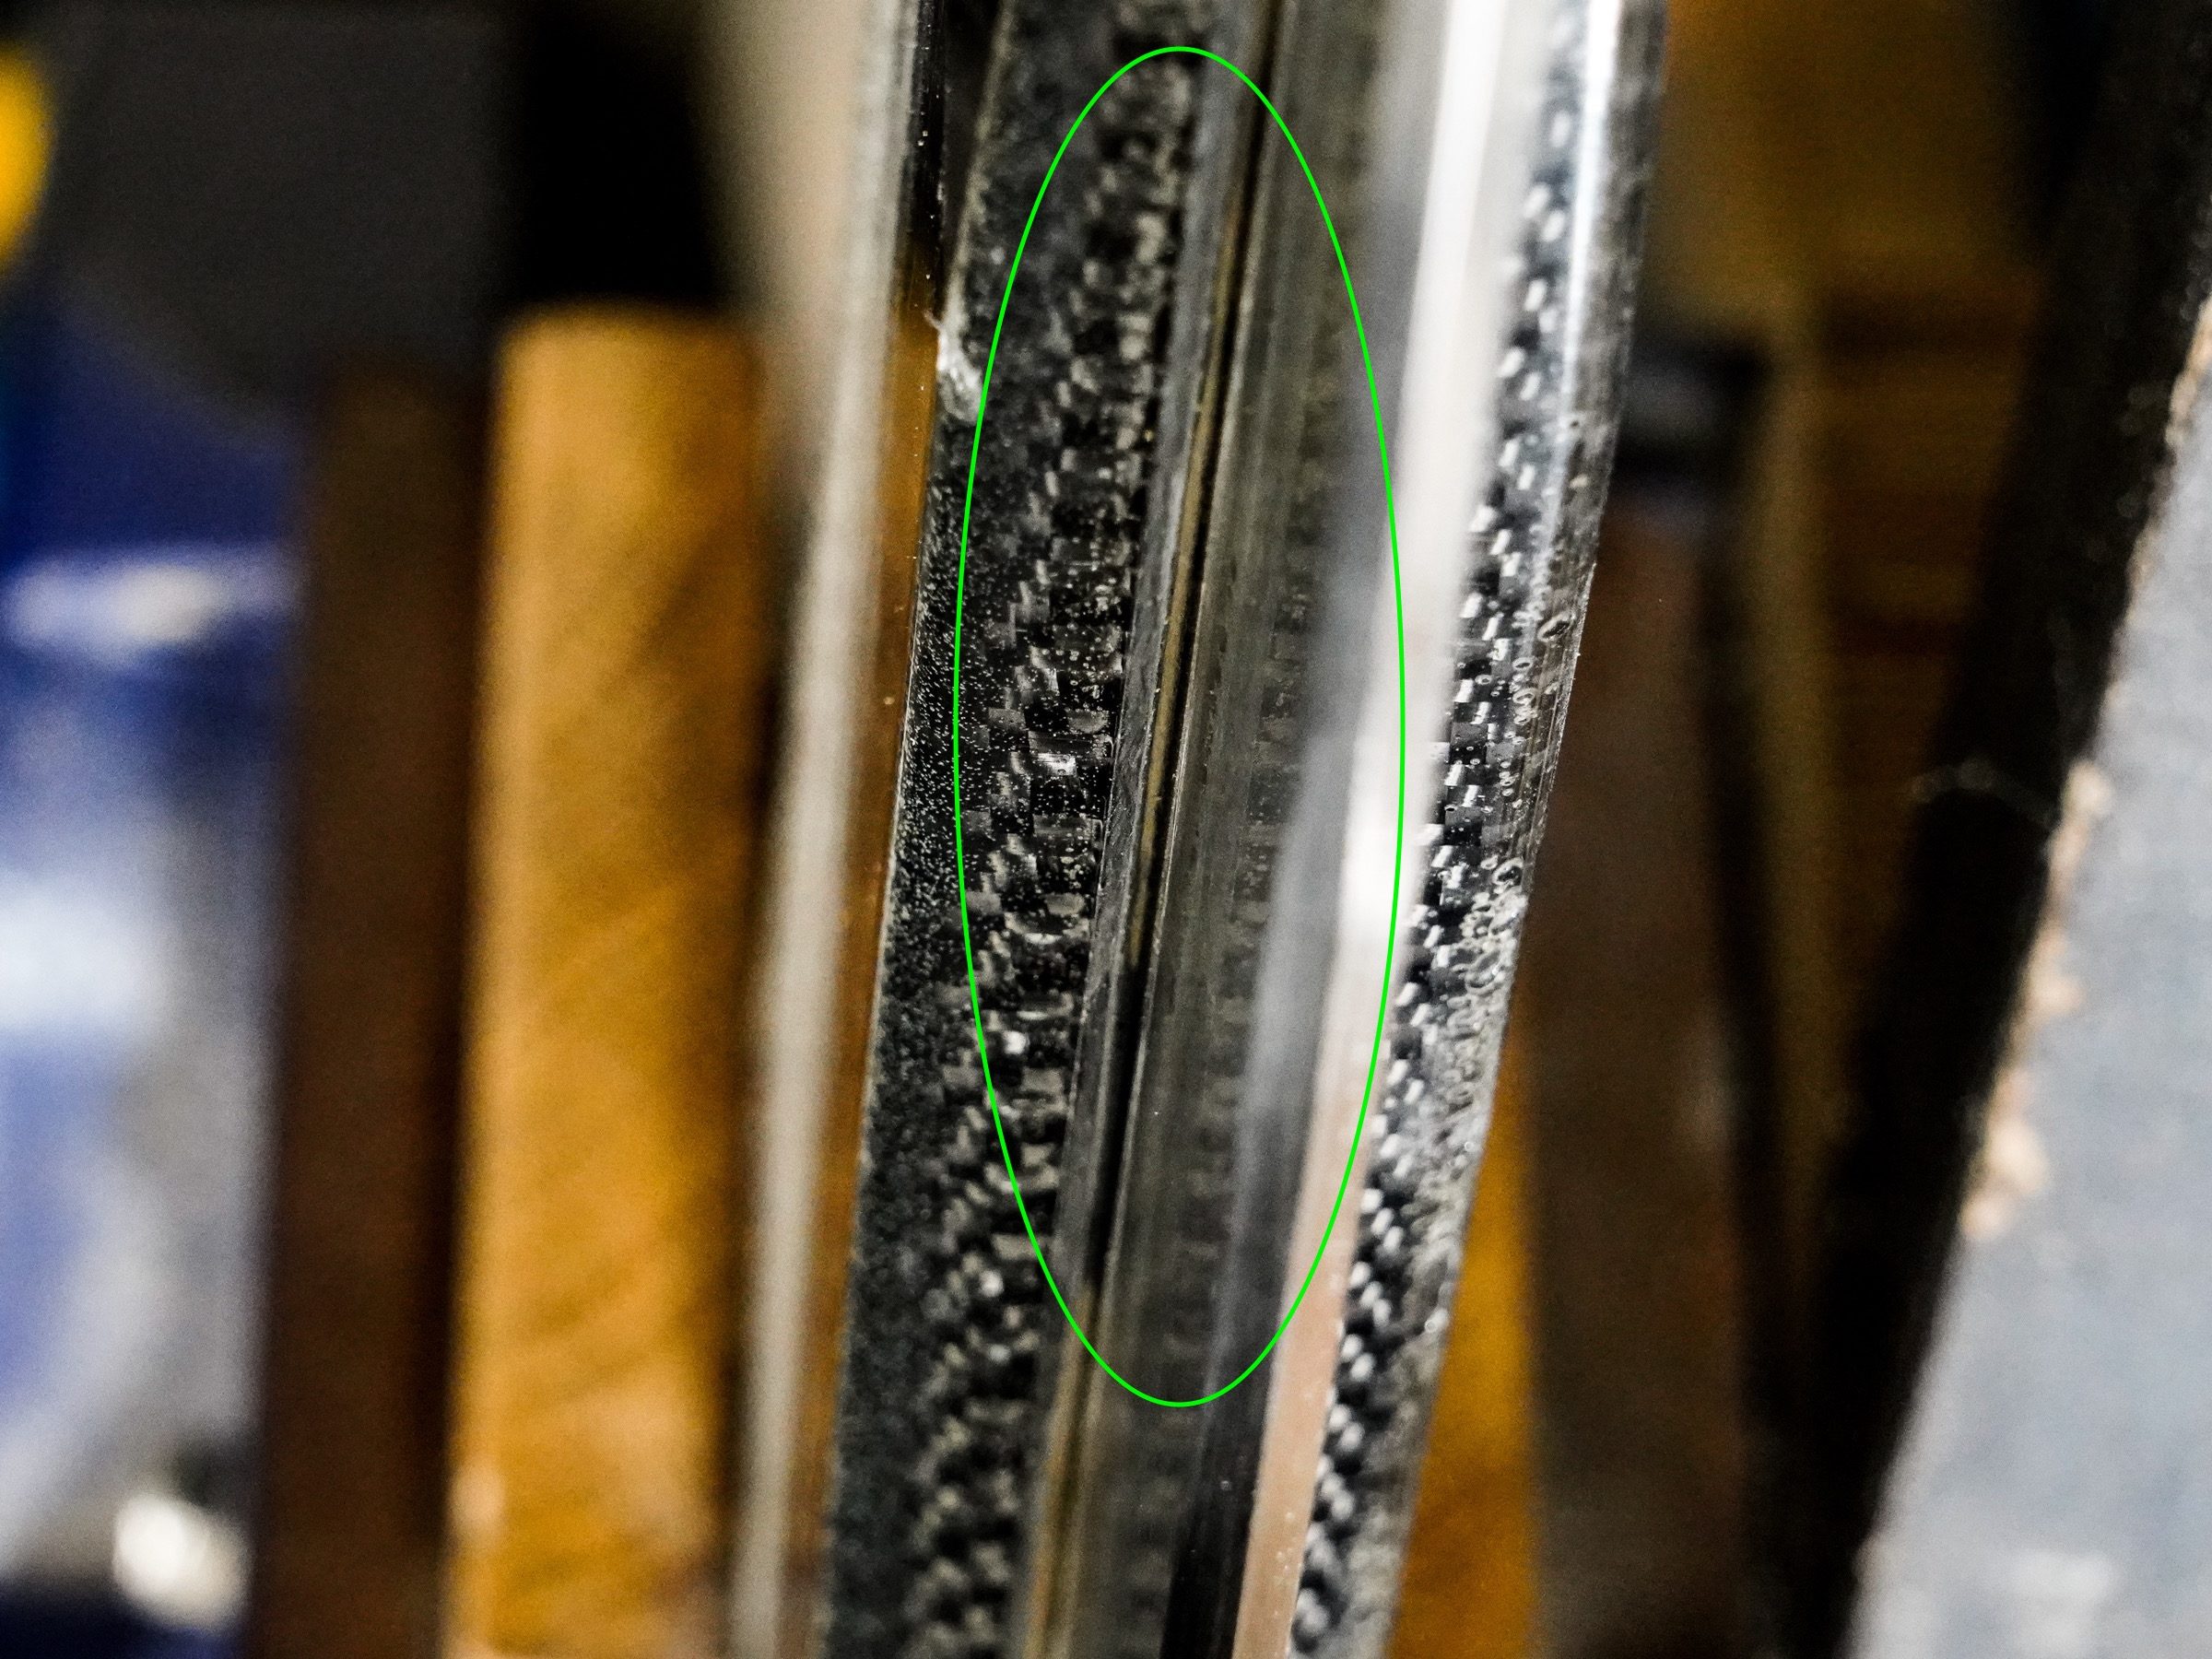
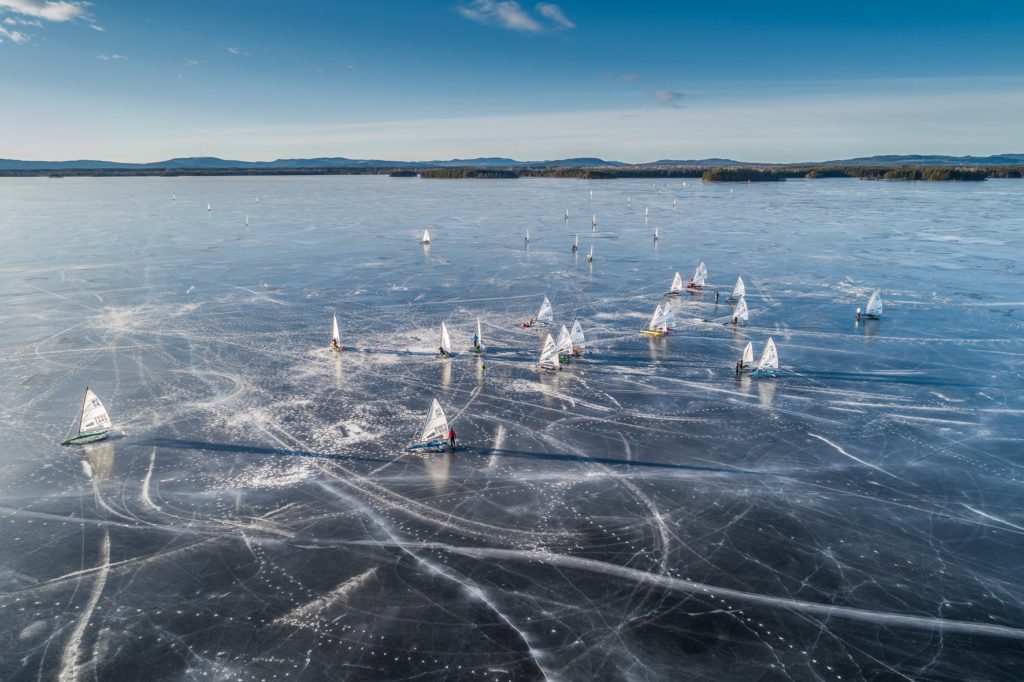
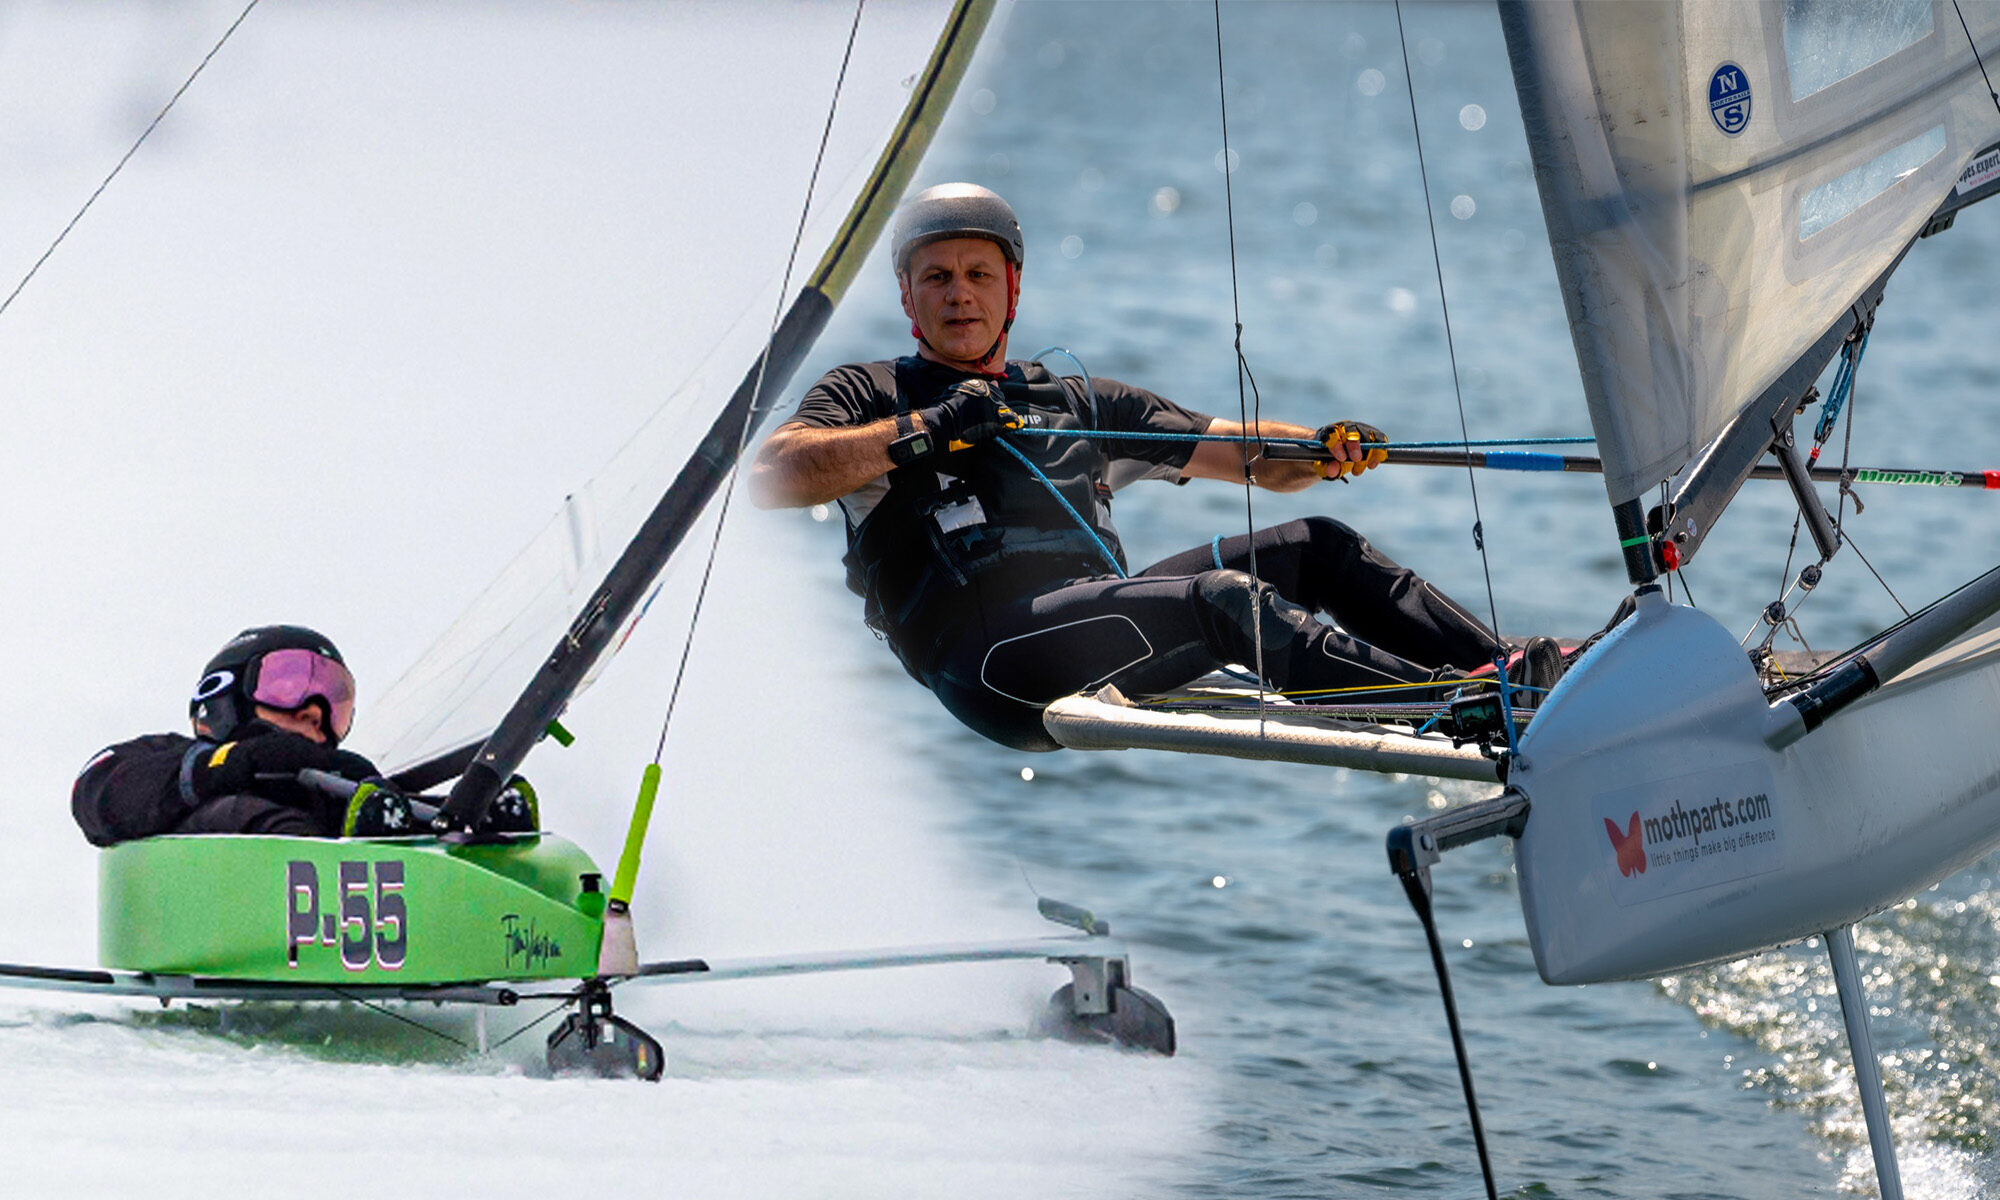
Great ice and great sailing conditions but no wind. The attempt to sail both events failed due to no wind. We manage to sail only 3 races in R3. Surprisingly I managed to win the regatta using the stiffest mast. And in order to make mast work I also reinforced my plank just before the event. The reinforcement was fundamental: initial bend was 48mm and ended up in 42mm. This operation forced mast to work more which was cruicial in light air. Racing in very light breeze with consisten 2, 2, 3 was big challenge. Usually light sailors have big edge on 90+ like myself. I also used a new hull that worked well. The next stop: WC/EC.

Training camp in Sweden 29.12.19-5.1.20


What a great opening of the season.  At least in the last 10-15 years i don’t recollect a situation with 7 days sailed out of 7 day stay. 100%. Black ice. 500km+ sailed. 

I managed to test soft and stiff mast together with different planks. Some interesting conclusions and new to-do list. 

Waiting for ice in Europe.